楽器店で迷わない!「音が良い」新品ギターを見極める5つのチェックポイント
- 2026/07/24
- Category:
憧れのギターを手に入れるなら、ルックスはもちろん「最高に音が良い一本」を選びたいですよね。
しかし、楽器店に並ぶピカピカの新品ギターを前にすると、「どれも同じように見えてしまう」「試奏しても違いが分からないかも…」と不安になる方も多いのではないでしょうか。
実は、音が良いギターを選ぶには、いくつかの明確なチェックポイントがあります。
今回は、プロやハイアマチュアが楽器店で実践している「極上のサウンドを見分けるための秘訣」を分かりやすく解説します!
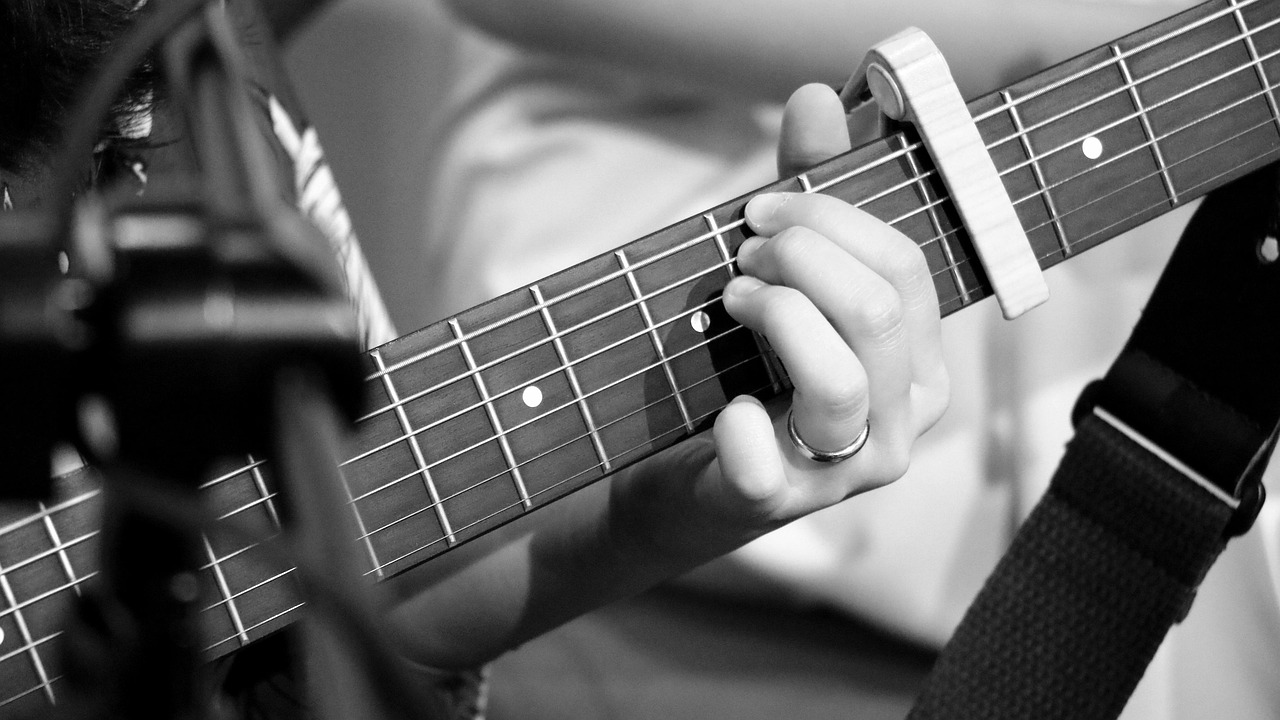
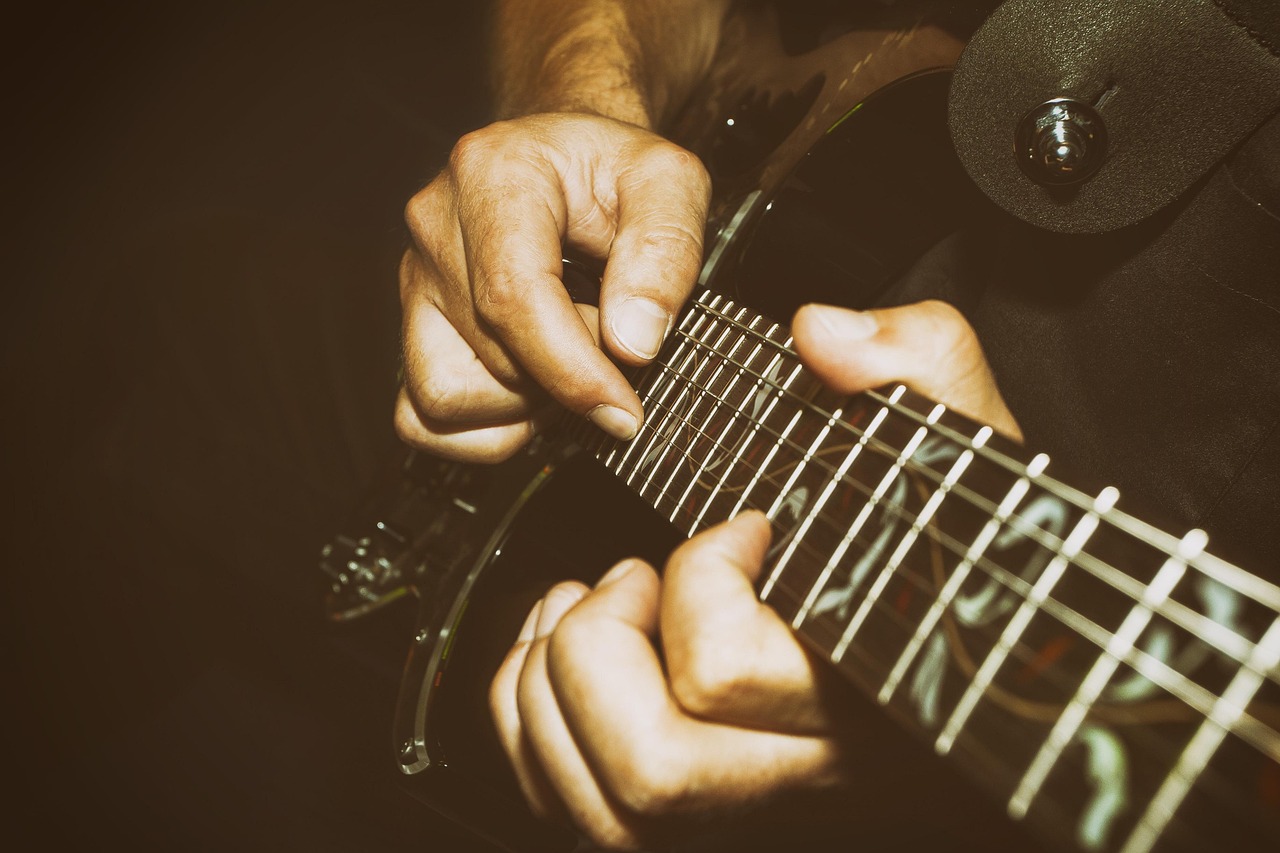
1. アンプに通す前に「生鳴り」を聴く
エレキギターであっても、アコースティックギターであっても、まずはアンプに繋がない状態(生音)で弾いてみましょう。
チェック方法: ローコード(GやCなど)をジャラーンと1回強く鳴らし、ボディとネックの「振動」に注目します。
・音が良いギターの特徴:お腹や左手にビンビンと心地よい振動が伝わってくる。
・音が濁らず、1本の弦の音がバラバラにならずに「ひとかたまりの綺麗な和音」として響く。
・音が消えるまでの時間(サスティーン)が長い(ギターによる場合もあるので参考程度に)。
ポイント: 生鳴りがスカスカなギターは、高級なアンプに繋いでも「芯のないペラペラな音」になりがちです。
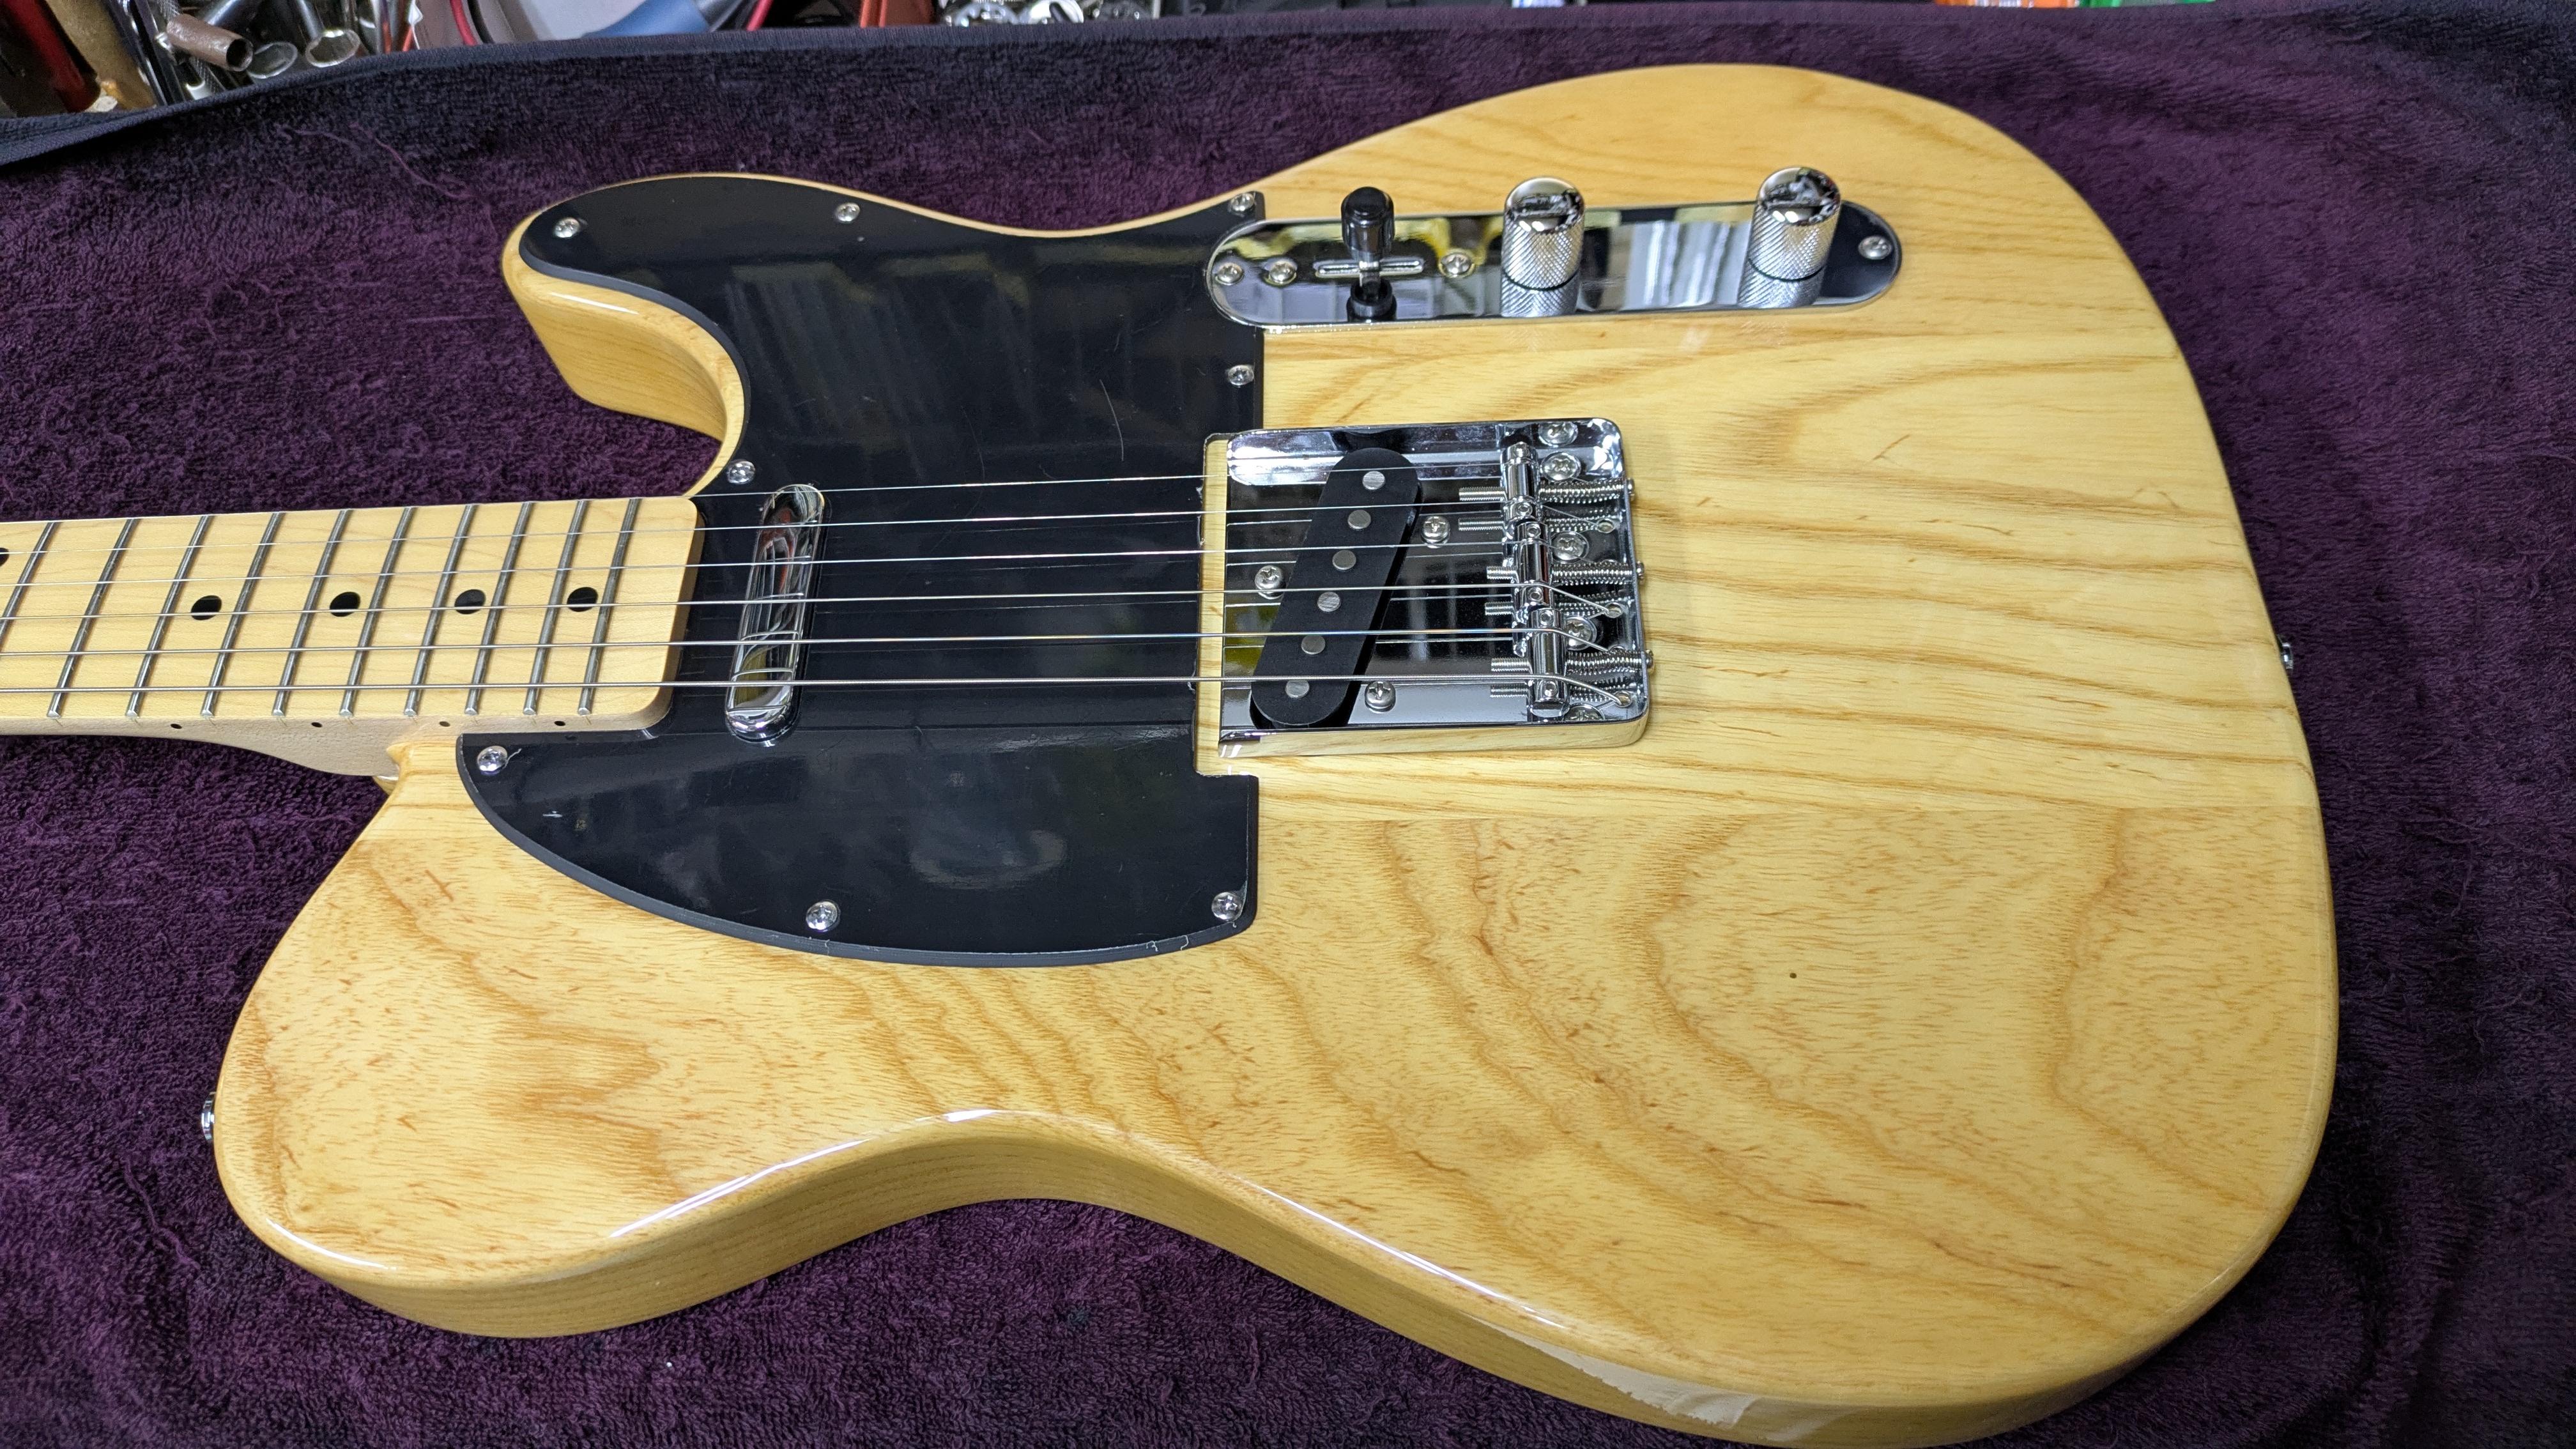
2. ネックの「剛性」と「木の密度」をチェックする
ギターの音の良し悪し、特に音の輪郭やピッチの安定感は「ネック」で決まると言っても過言ではありません。
チェック方法: ネックの裏側(木目)をじっくり見てみましょう。
音が良いギターの特徴:木目がまっすぐ綺麗に通っている(順目の木材)。
年輪の詰まり具合が均一である。
ネックを握って軽く力を入れた時に、妙にしなったりせず「ガシッと硬い塊」のような安心感がある。
近年の木材は柔らかい為、寿命にも関係します。ネックがしっかりしているギターは、弦の振動を逃がさずにボディへ伝えてくれるため、輪郭のある素晴らしいサウンドが生まれます。
3. 全てのフレットを鳴らして「デッドポイント」を探す
どんなに全体の響きが良くても、特定の音だけ「サスティーンが極端に短い」「音がこもる」という個体があります。
これをデッドポイント(デッドスポット)と呼びます。チェック方法: 1弦から6弦まで、全てのフレットを1音ずつポーン、ポーンと鳴らしていきます
音が良いギターの特徴:どのポジションを押さえても、同じように綺麗に音が伸びる。
特定の音だけ急に「ベチャッ」と音が消えたりしない。
フレット状態が悪いギターは不具合が起きます。

4. 同一モデルの「個体差」を弾き比べる
「このメーカーのこのモデルを買う!」と決めている場合でも、店頭に在庫があれば同じモデルを2〜3本出してもらい、弾き比べさせてもらいましょう。
ギターは天然の木で作られているため、同じ型番、同じ工場で作られていても、驚くほど音が違います。
A面:低音がドッシリ出ている
B面:高音がキラキラしていて抜けが良い
C面:全体のバランスが良いが、少し音が軽い
このように比べると、自分の好みのサウンドがハッキリと見えてきます。
店員さんに「同じモデルの在庫があれば、弾き比べさせていただけますか?」と聞くのは、楽器店ではごく一般的なことなので遠慮する必要はありません。
5. 「店員さんに弾いてもらう」という裏ワザ
自分で試奏するのが恥ずかしかったり、まだ上手く弾けなかったりする場合は、遠慮なく店員さんに頼みましょう。
頼み方: 「このギターとあのギターの音の違いを聴きたいので、同じフレーズを目の前で弾いてもらえますか?」
メリット: 自分が弾く側ではなく「聴く側(客席側)」に回ることで、客観的な音の広がりや、高音・低音のバランスを冷静にジャッジできるようになります。
~まとめ~
「あなたの耳が心地よいと感じる音」が正解
一般的に「太い音」「抜けが良い音」が良しとされますが、最終的な正解は「あなたが聴いていてワクワクする音」です。
ジャカジャカ弾いた時に気持ちが良いか?
ポーンと鳴らした余韻にうっとりできるか?
スペックや価格、ネットのレビューに惑わされず、楽器店という特別な空間であなたの五感をフルに働かせてみてください。
きっと「これだ!」と思える運命の一本に出会えるはずです。
〒114-0014 東京都北区田端1-21-3 エーデルワイス101
ギターリペア工房 Draw a New Sound
東京都 山手線 田端から徒歩2分 どこよりも早いリペア早期仕上げ対応可能のリーズナブル料金&丁寧な作業のギターリペアショップです♪
●ホームページ Draw a New Sound
●YouTubeではブログでは語られない裏話からギターの作り方まで掲載中!
マイチャンネル YouTubeチャンネル●ツイッター DNS_Guitar