ギターの保管はどうしたら良い?
- 2026/07/14
- Category:
ギターケース内の湿度管理は、木材で作られたギターの寿命を左右する非常に重要なポイントです。
特に日本の気候は、夏(梅雨)の高温多湿と冬の乾燥の差が激しいため、ケース内の環境をいかに一定に保つかが鍵になります。
ここでは、ケース内に入れておくだけで湿度をコントロールしてくれるおすすめの調湿剤と、季節ごとの正しい保管方法を詳しく解説します。

1. ギターケース用「調湿剤」のおすすめ3選
ギター用の調湿剤は、一般的な乾燥剤(シリカゲル)とは異なり、「湿気が多いときは吸い、乾燥しているときは水分を放出する」という、湿度を一定(約40〜50%)に保つ機能を持っています。中でもプロや楽器店が実際に使っている定番・信頼のアイテムをご紹介します。
●PICKBOY (ピックボーイ) / ドライキーパー 高吸水性高分子を使用した超定番。消臭効果もあり、コストパフォーマンスに優れています。 / 約6ヶ月〜1年
●Boveda (ボベダ) / ギター用調湿剤 (B49) 湿度を正確に「49%」に保つ固形ジェルタイプ。世界中の高級ギターメーカー(Taylorなど)が推奨しています。 / パックが硬くなったら交換
●GRECO (グレコ) / ドライクルー ほのかな香りが付いたタイプ(無香料もあり)。湿度調整だけでなく、防錆(サビ防止)効果があるのも特徴。 / 約6〜12ヶ月
💡 選ぶポイント:迷ったら、正確な湿度管理ができる Boveda が最もおすすめです。
ジェルが完全に固まったら寿命なので、交換時期が目視で分かりやすいというメリットもあります。
2. 【梅雨〜夏場】高湿度期の正しい保管方法
日本の夏は、油断すると湿度80%を超えることも珍しくありません。木材が水分を吸いすぎると、トップ材が膨らんだり(トップ浮き)、ネックが逆反りしたり、最悪の場合はカビが発生します。
基本は「ハードケース」か「厚手のギグバッグ」に収納する:部屋に出しっぱなし(スタンド掛け)はNGです。
ケースは外気の影響を遅らせる防壁になります。ケース内に必ず上記の調湿剤を入れ、しっかりチャックやラッチを閉めましょう。クローゼットや壁際は避ける:空気の通りが悪いクローゼットの中や、外気に触れて結露しやすい壁際は湿気が溜まります。
部屋のなるべく風通しの良い、床から少し高い場所に保管してください。定期的にケースを開けて空気を入れ替える:長期間弾かない場合でも、週に1回はケースを開けて、エアコンの効いた部屋で空気を入れ替えてあげましょう。
3. 【冬場】乾燥期の正しい保管方法
冬場はギターにとって最も過酷な季節です。湿度が30%を下回ると、木材が収縮して指板のひび割れやネックの順反り、ボディの割れ(トップクラック)を引き起こします。
エアコンの風が直接当たる場所は絶対に避ける:温風が直接当たると、一瞬で木材の水分が奪われてギターが割れます。
ケース内に調湿剤+α の対策を:冬場は調湿剤が放出する水分だけでは足りなくなることがあります。
アコースティックギターの場合は、サウンドホールに直接装着して内部を潤す「ダンピット」のような専用の加湿器を併用するのが効果的です。部屋全体の加湿も行う:「ケースから出して弾く時間」だけでも乾燥は進みます。
ギターを保管・演奏する部屋自体を加湿器で40〜50%に保っておくのが理想です。~まとめ~
ケースに入れたら「閉めきる」のが鉄則
調湿剤の効果を最大限に発揮させるためには、「ケースをしっかり閉めること」が鉄則です。
チャックやラッチが半開きだと、部屋全体の湿気を調湿剤が吸い続け、数週間で寿命を迎えてしまいます。
お気に入りのギターを長く良いコンディションで鳴らすために、ぜひケース内の環境にも気を配ってみてくださいね。
〒114-0014 東京都北区田端1-21-3 エーデルワイス101
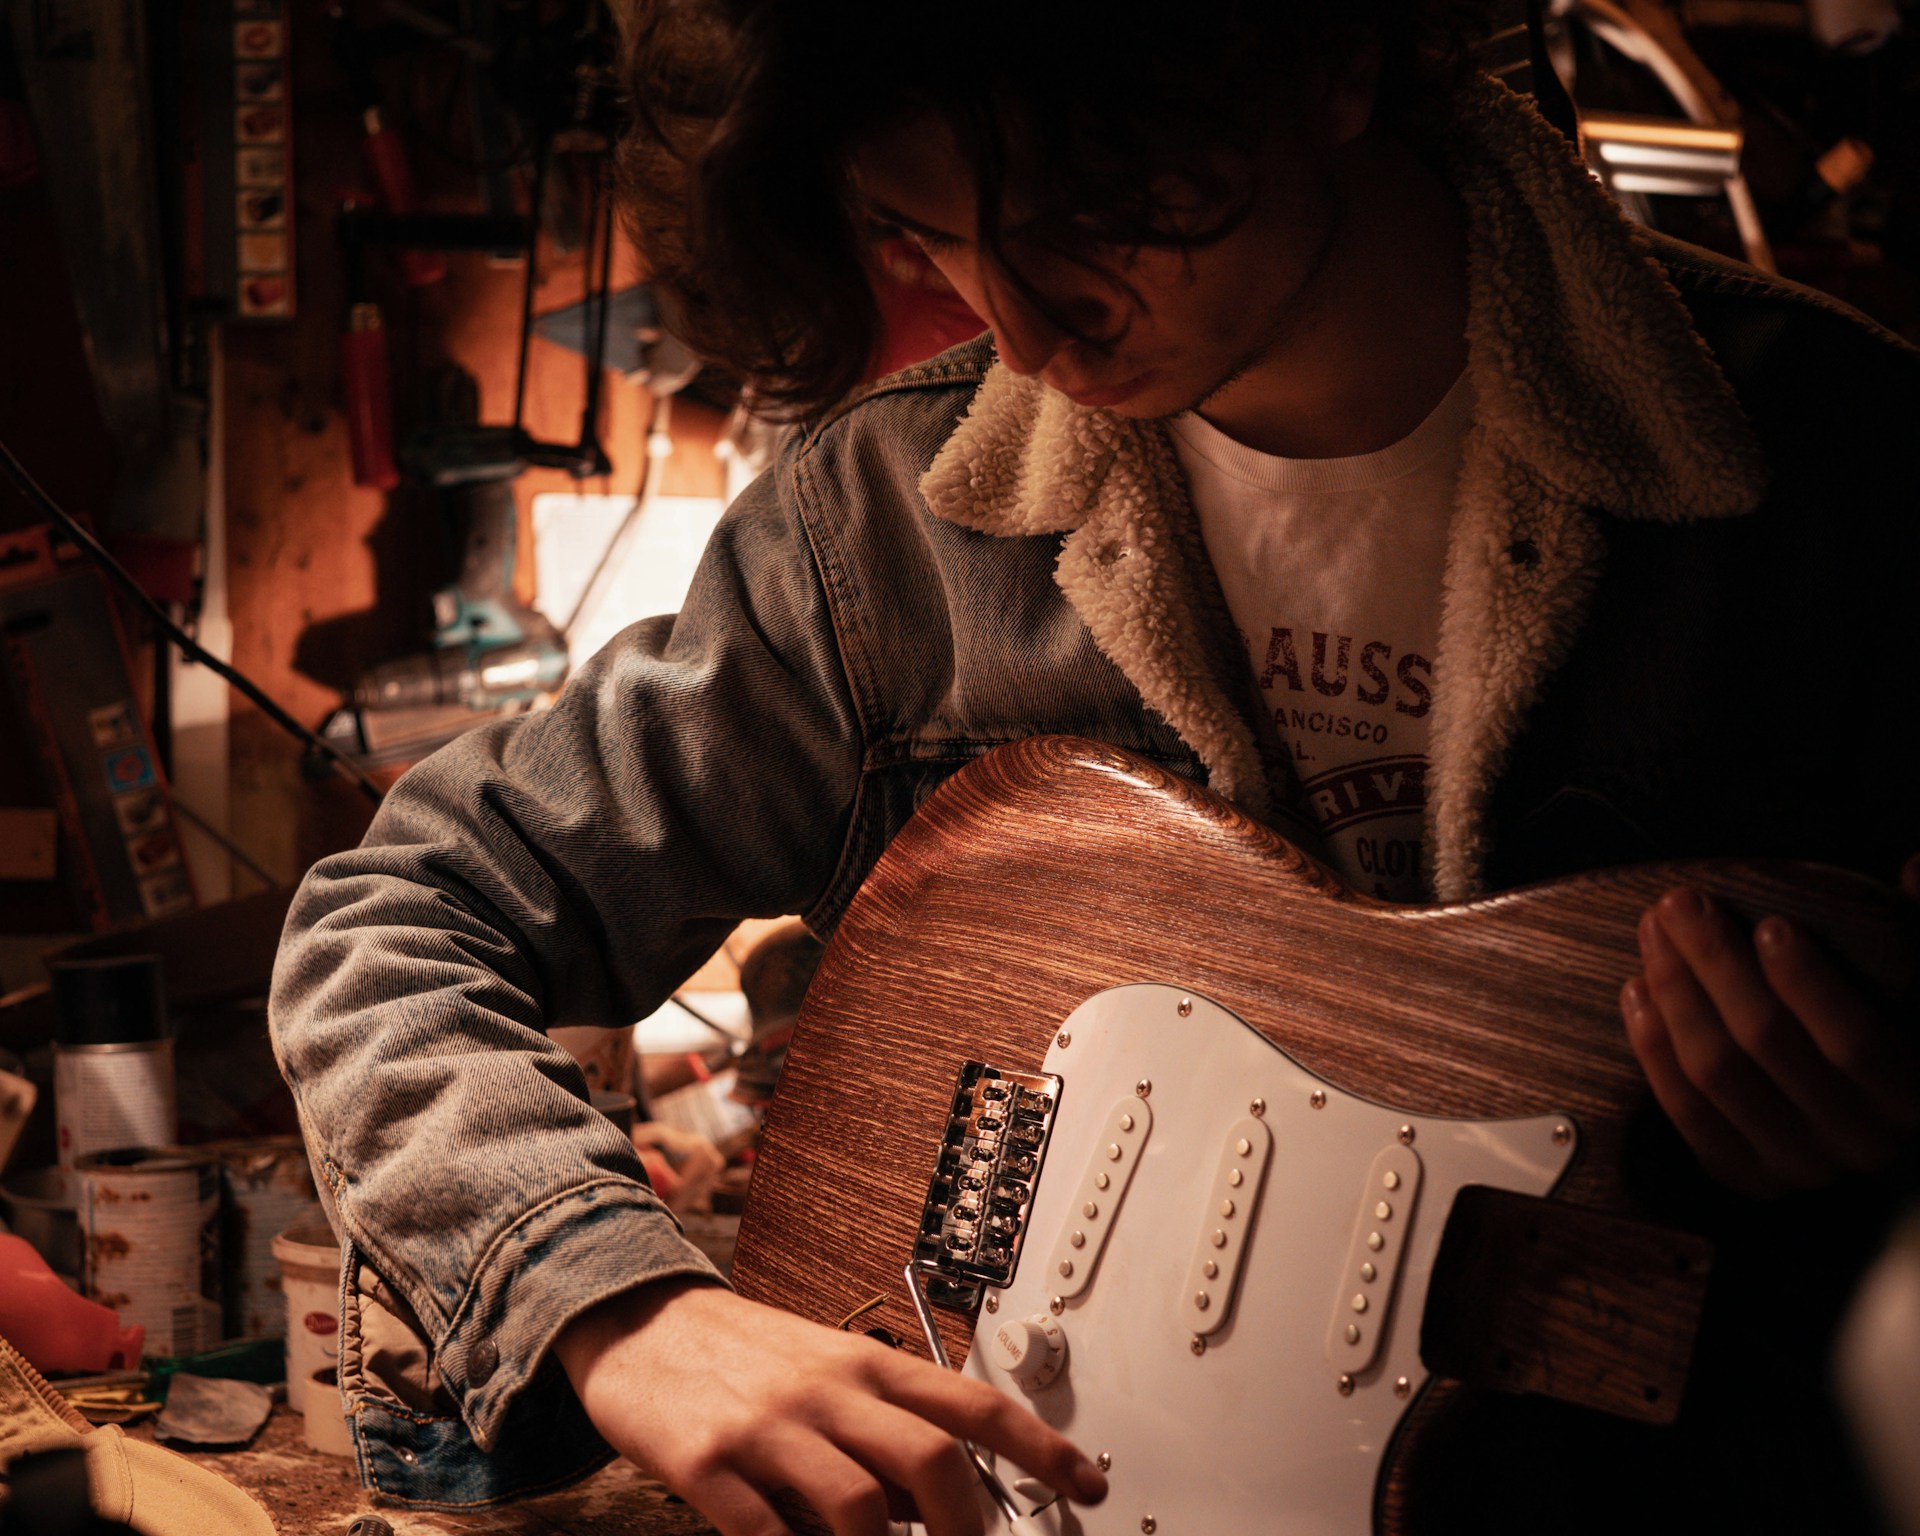
ギターリペア工房 Draw a New Sound
東京都 山手線 田端から徒歩2分 どこよりも早いリペア早期仕上げ対応可能のリーズナブル料金&丁寧な作業のギターリペアショップです♪
●ホームページ Draw a New Sound
●YouTubeではブログでは語られない裏話からギターの作り方まで掲載中!
マイチャンネル YouTubeチャンネル●ツイッター DNS_Guitar