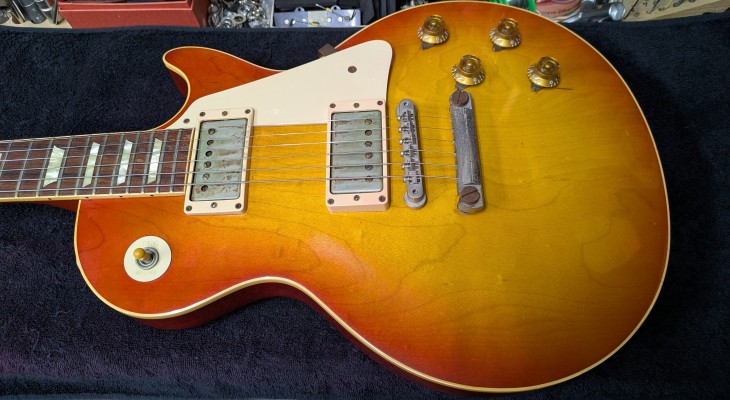
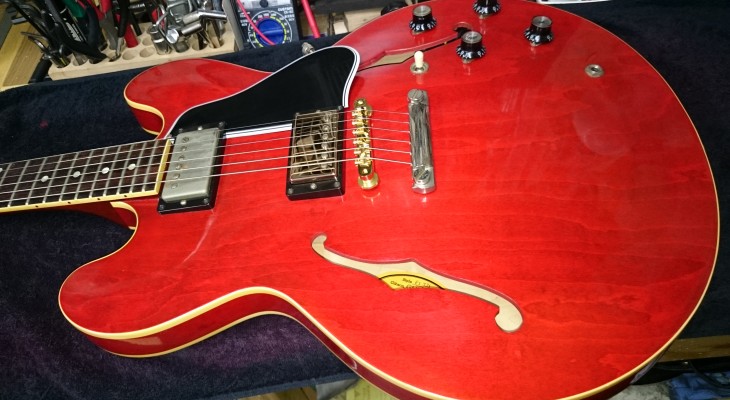
The saddle came off and was lost, so we’re taking this opportunity to replace the entire bridge.
We’re replacing it with a genuine Gibson saddle, but since this one isn’t pre-slotted, the cost includes both the part and the slotting fee. For cost reasons, we recommend GOTOH or similar brands.
However, I feel the sound differs compared to GOTOH; I think this one produces a softer tone.
GOTOH saddles, perhaps due to the harder metal, are more durable but produce a harsher sound.
These genuine saddles tend to have a softer tone, but they have some play in the saddle itself, so precision is poor.
Gibson users will understand—the saddle wobbles, causing strange noises from string vibration.
Perhaps because the metal is softer, the octave adjustment screws also warp with use, and adjusting the octave changes the amount of wobble.
The drawbacks beyond sound quality are significant, so be cautious.
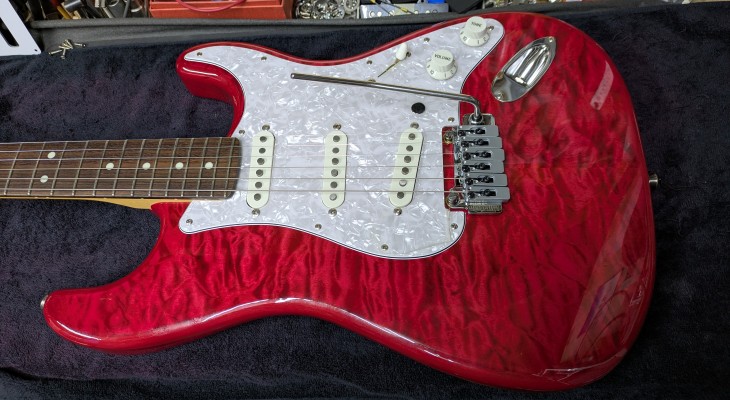
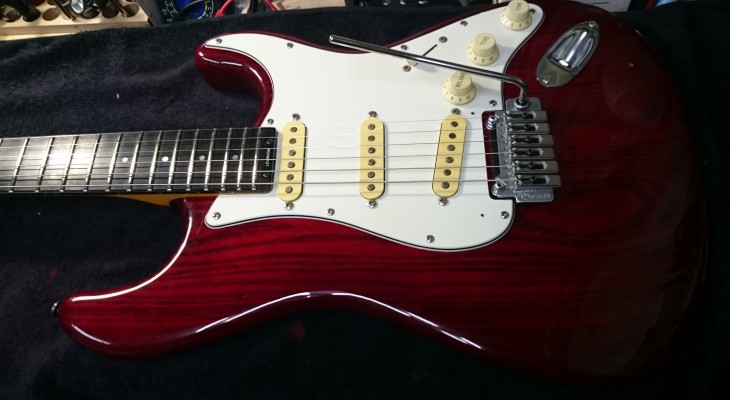
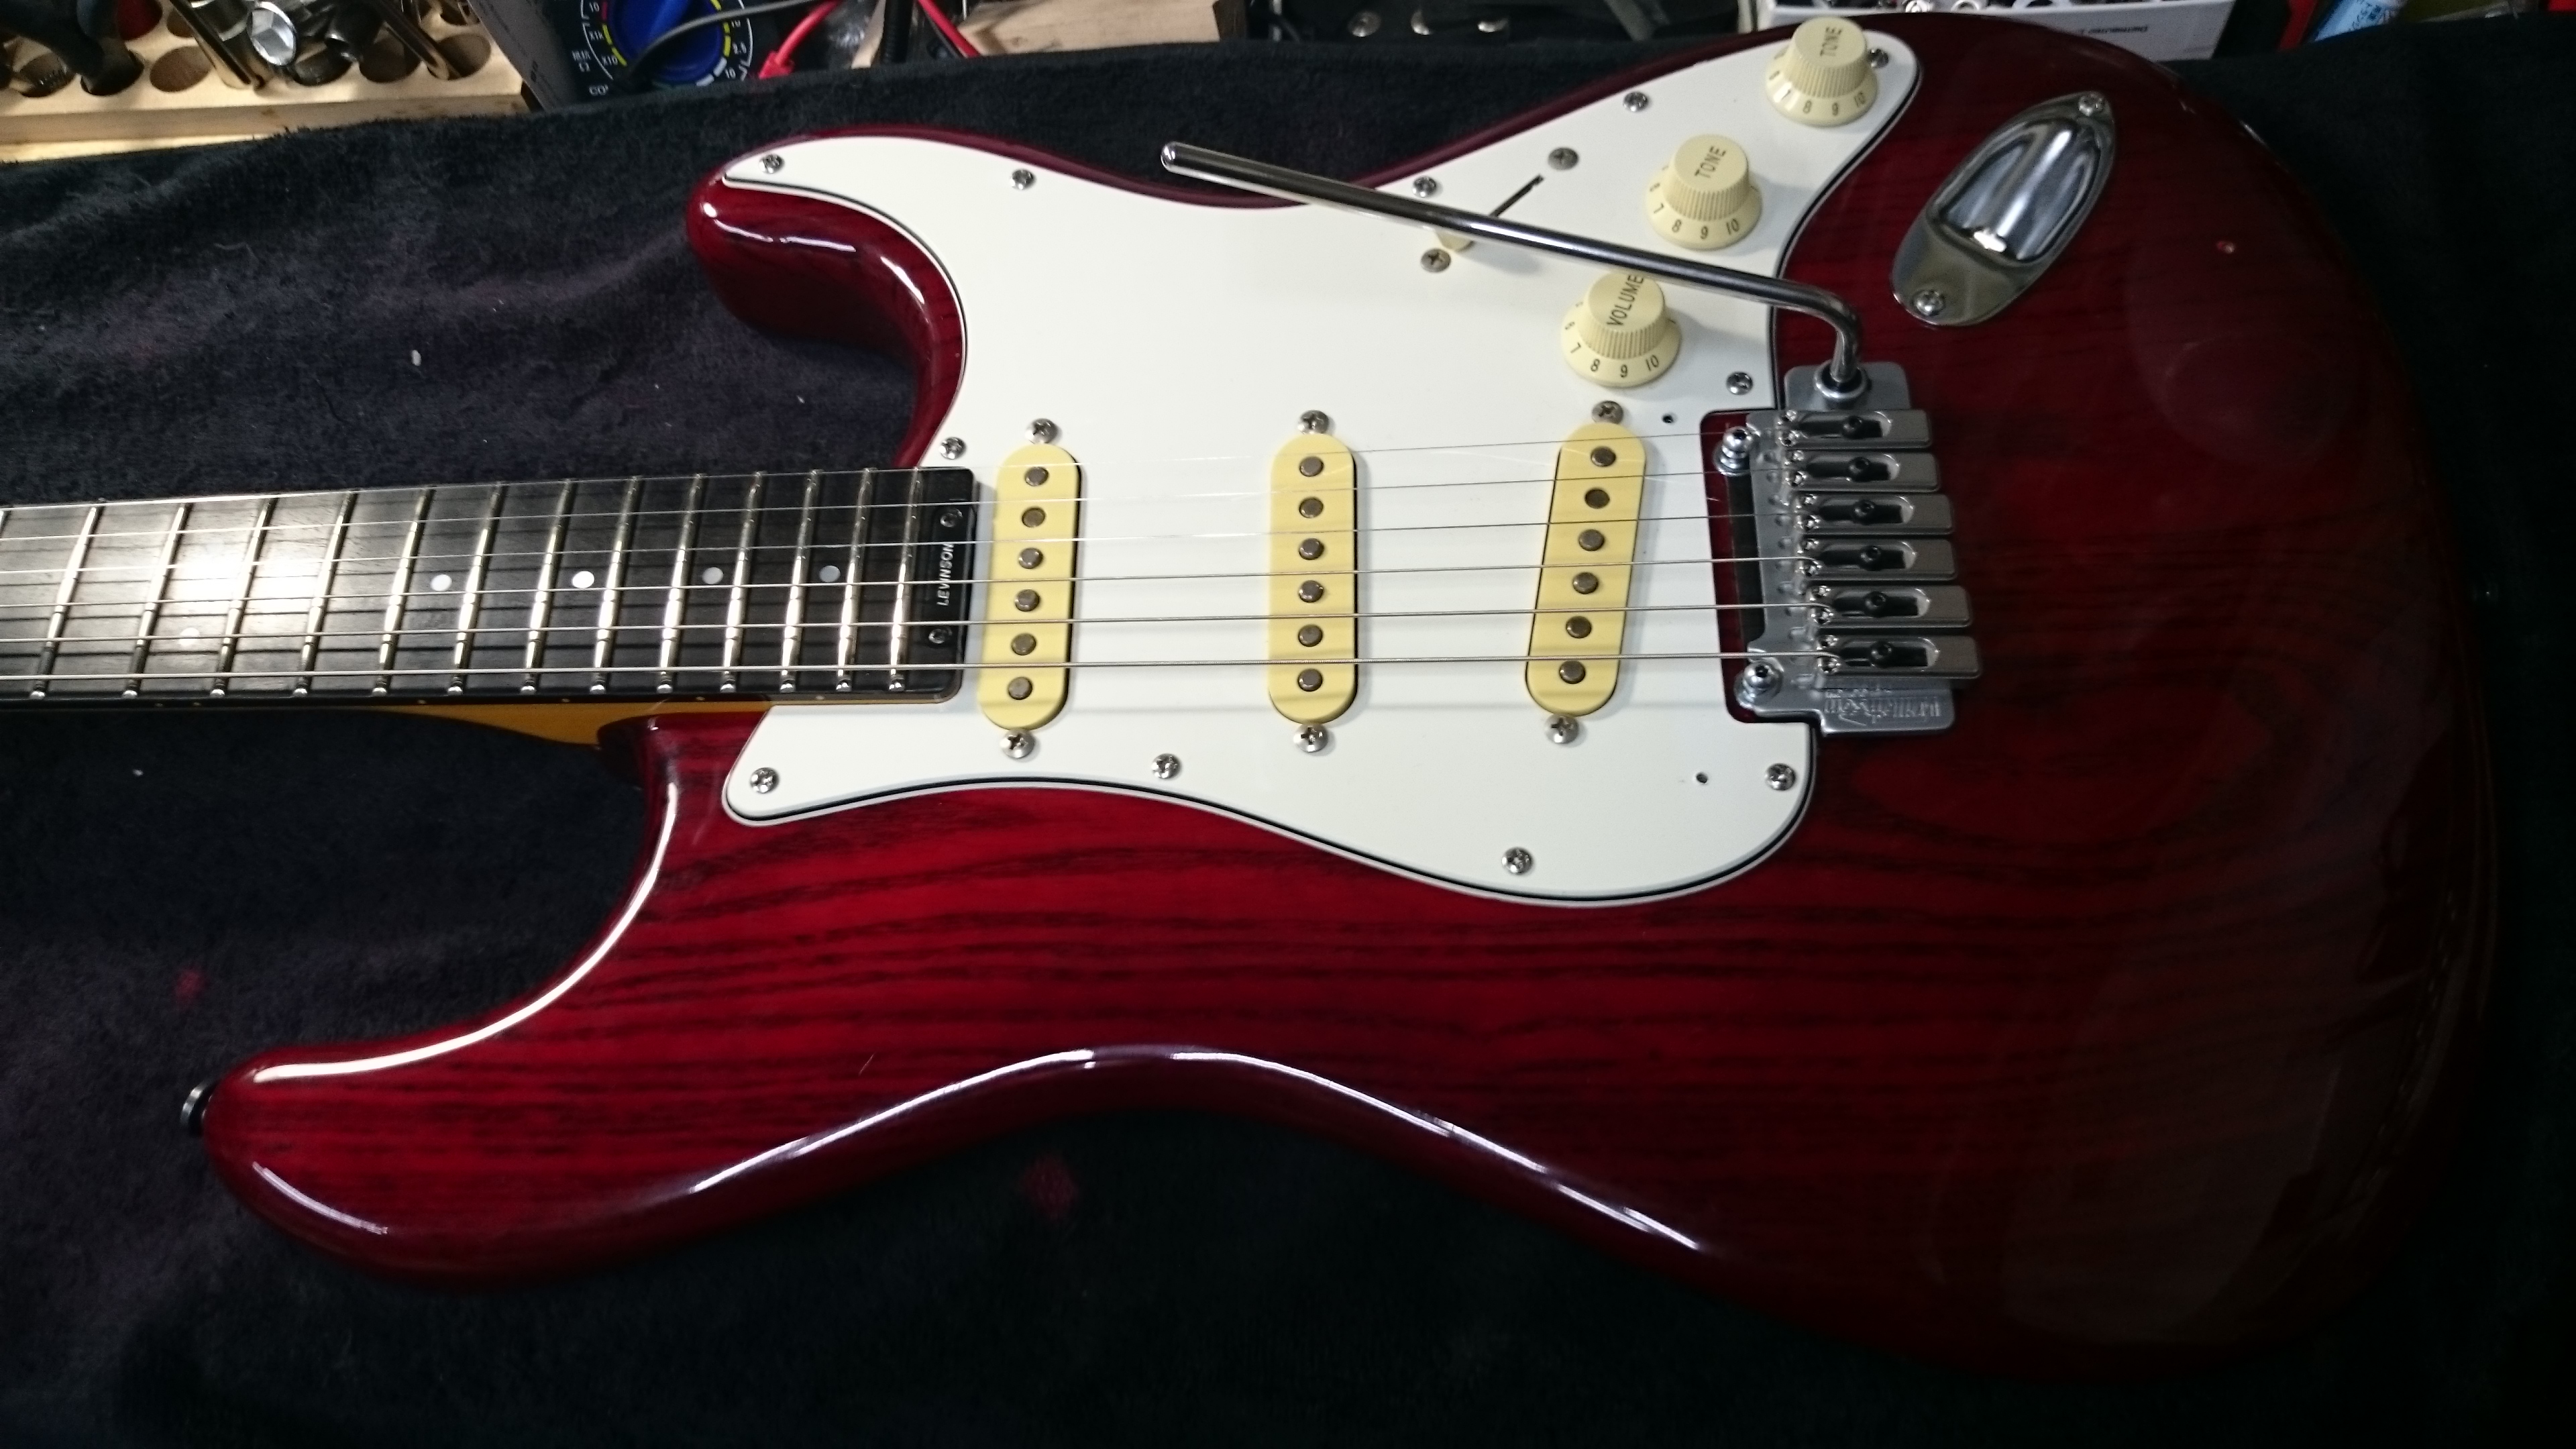
Replacing and setting up the bridge on a Fender Japan Stratocaster.
Replacing it with a GOTOH VS1300. Reusing the studs.
There are important points to note when replacing bridges like this. Even if the mounting pitch is the same, it doesn’t necessarily mean it’ll fit right out of the box.
The tremolo arm mounting nut interfered with the bridge’s recess, preventing standard installation.
Online information is often unreliable; you might buy a part thinking it’s a direct fit based on web claims, only to find it doesn’t work.
I machined the bridge to create a recess, enabling proper installation.
This particular guitar had excellent tone clarity and delivered a wonderfully crisp, lively distortion character.
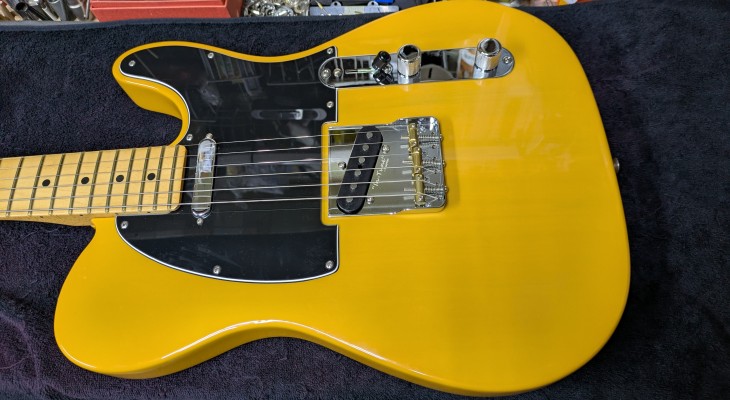
Fender Mexico Telecaster peg replacement, bridge replacement, and setup.
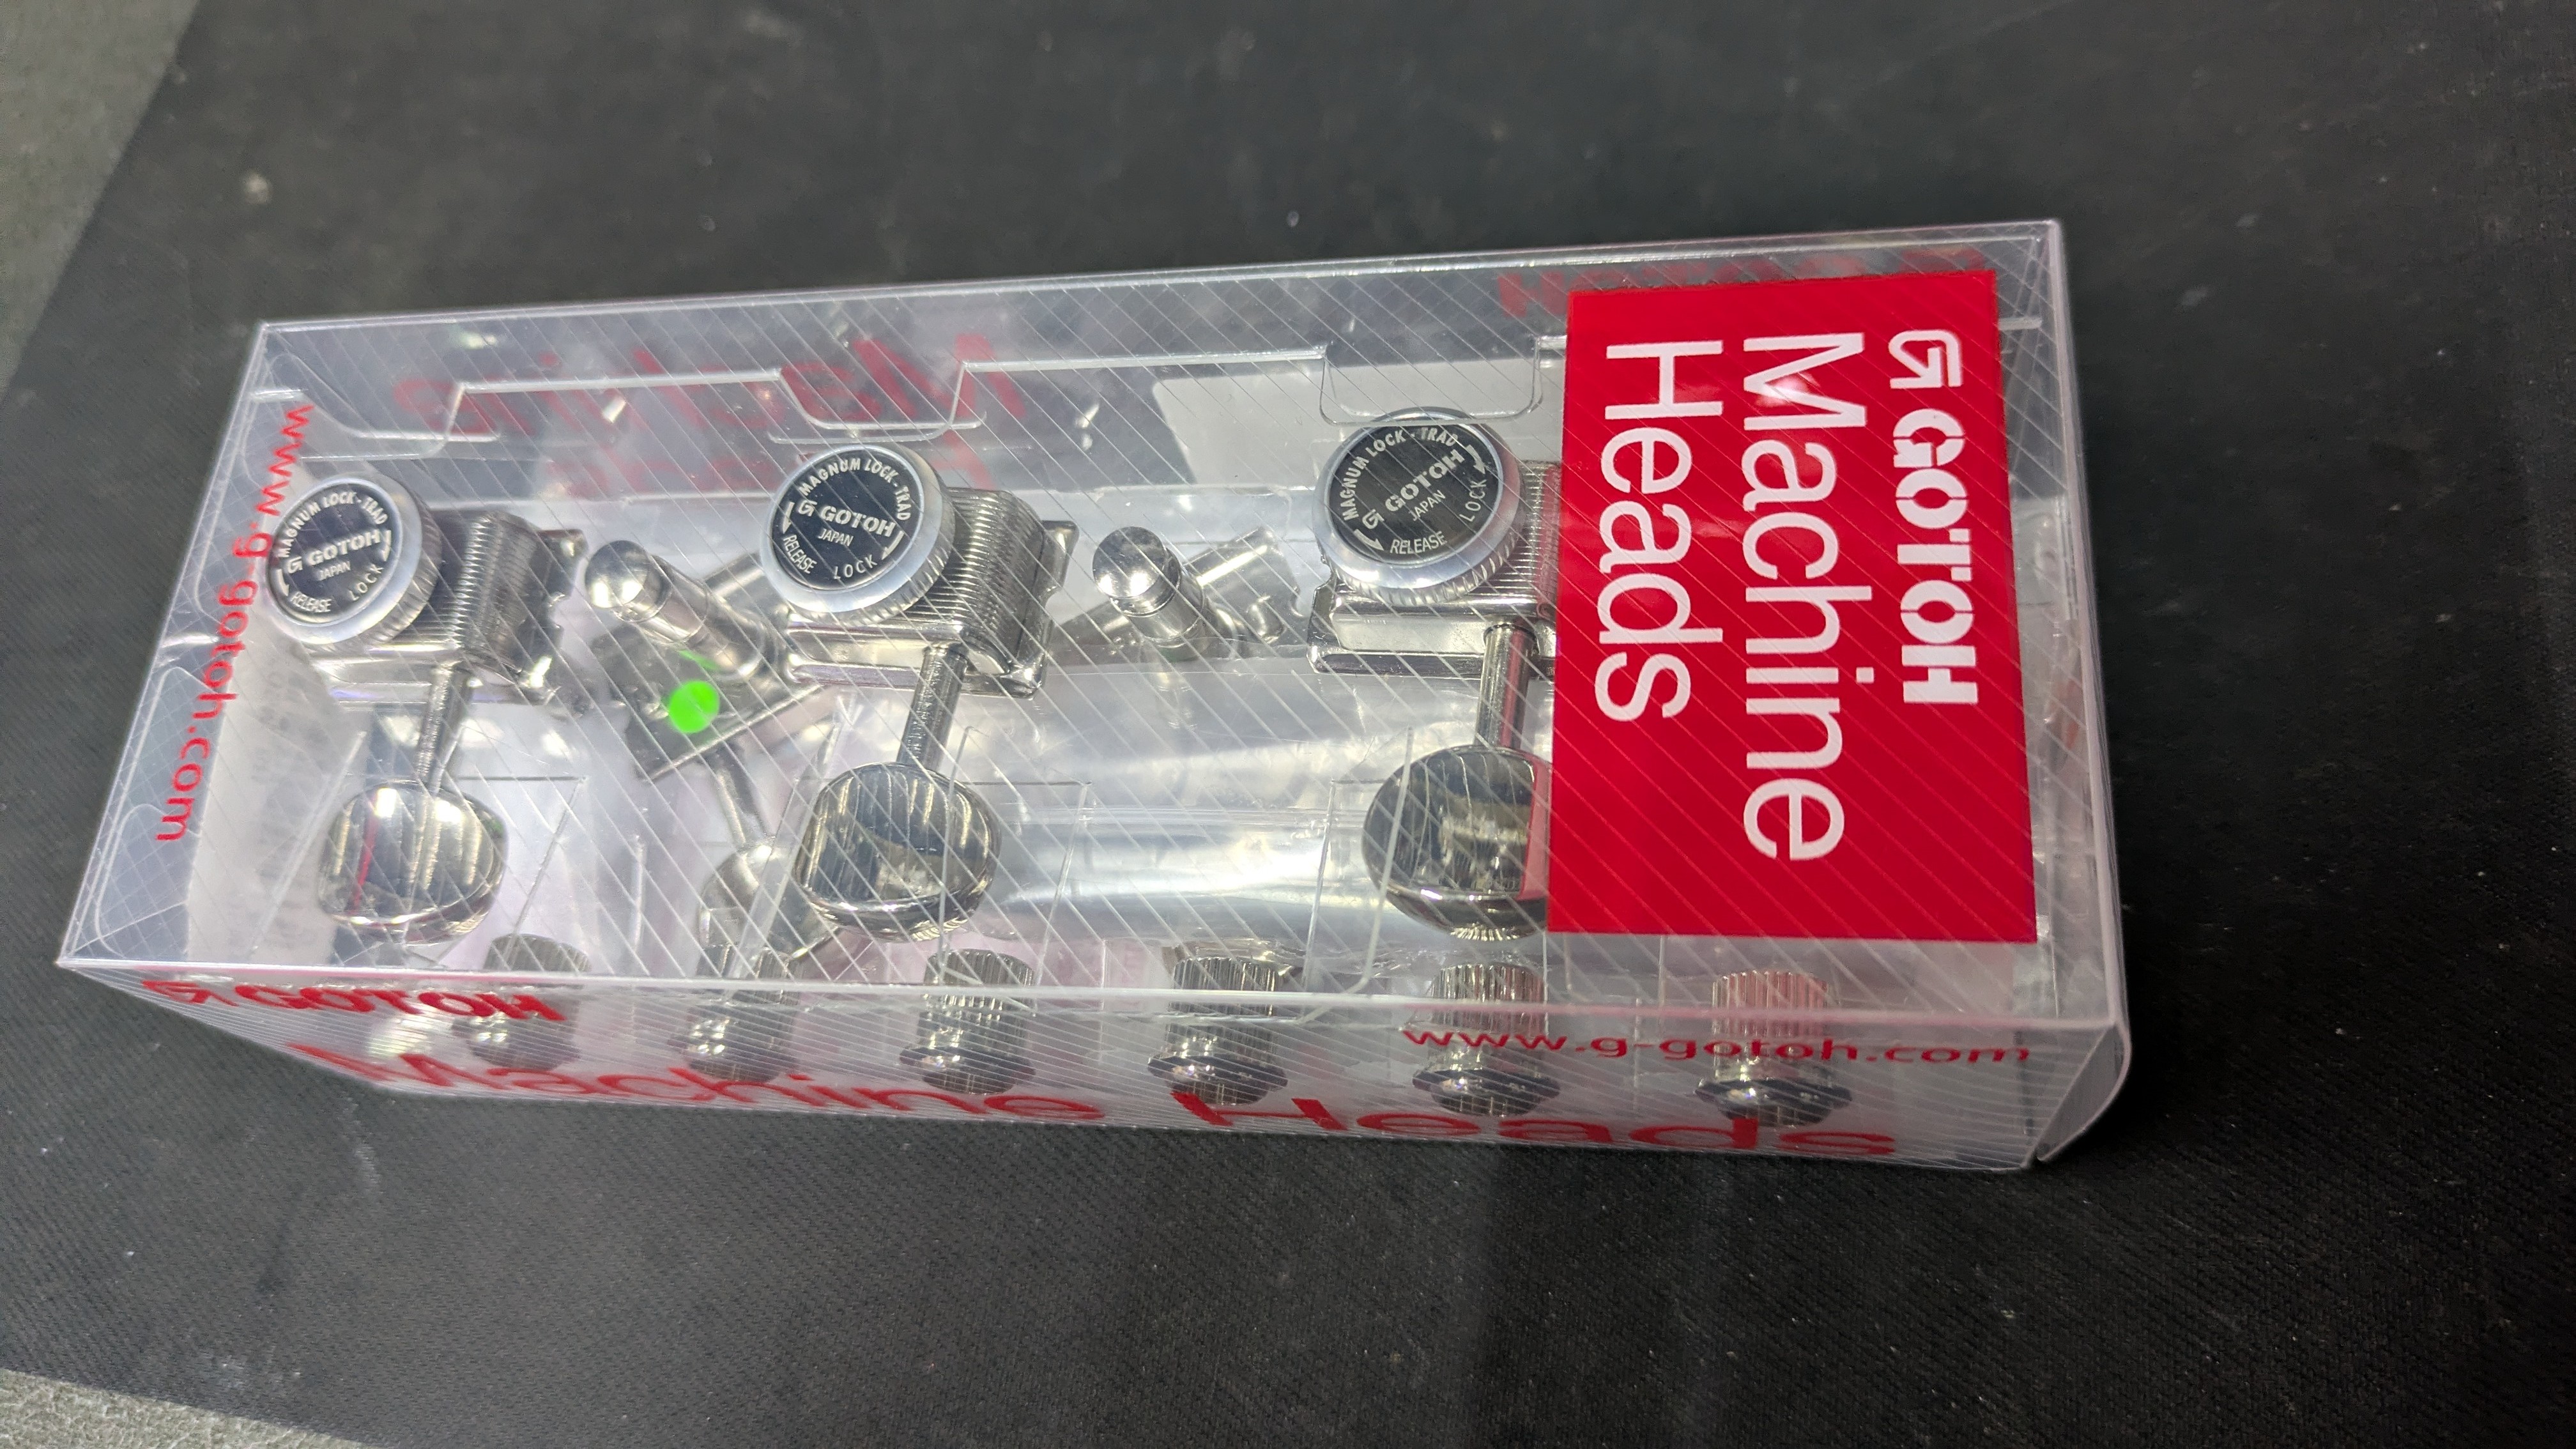
Replacing the pegs with Gotoh locking pegs, but the original pegs are a rare nut-mounted Kluson type (no screws, with protrusions on the back).
This means they cannot be installed without modification.
Remembering that nut-mounted tuners have larger holes and bushed tuners have smaller holes makes the replacement easier.
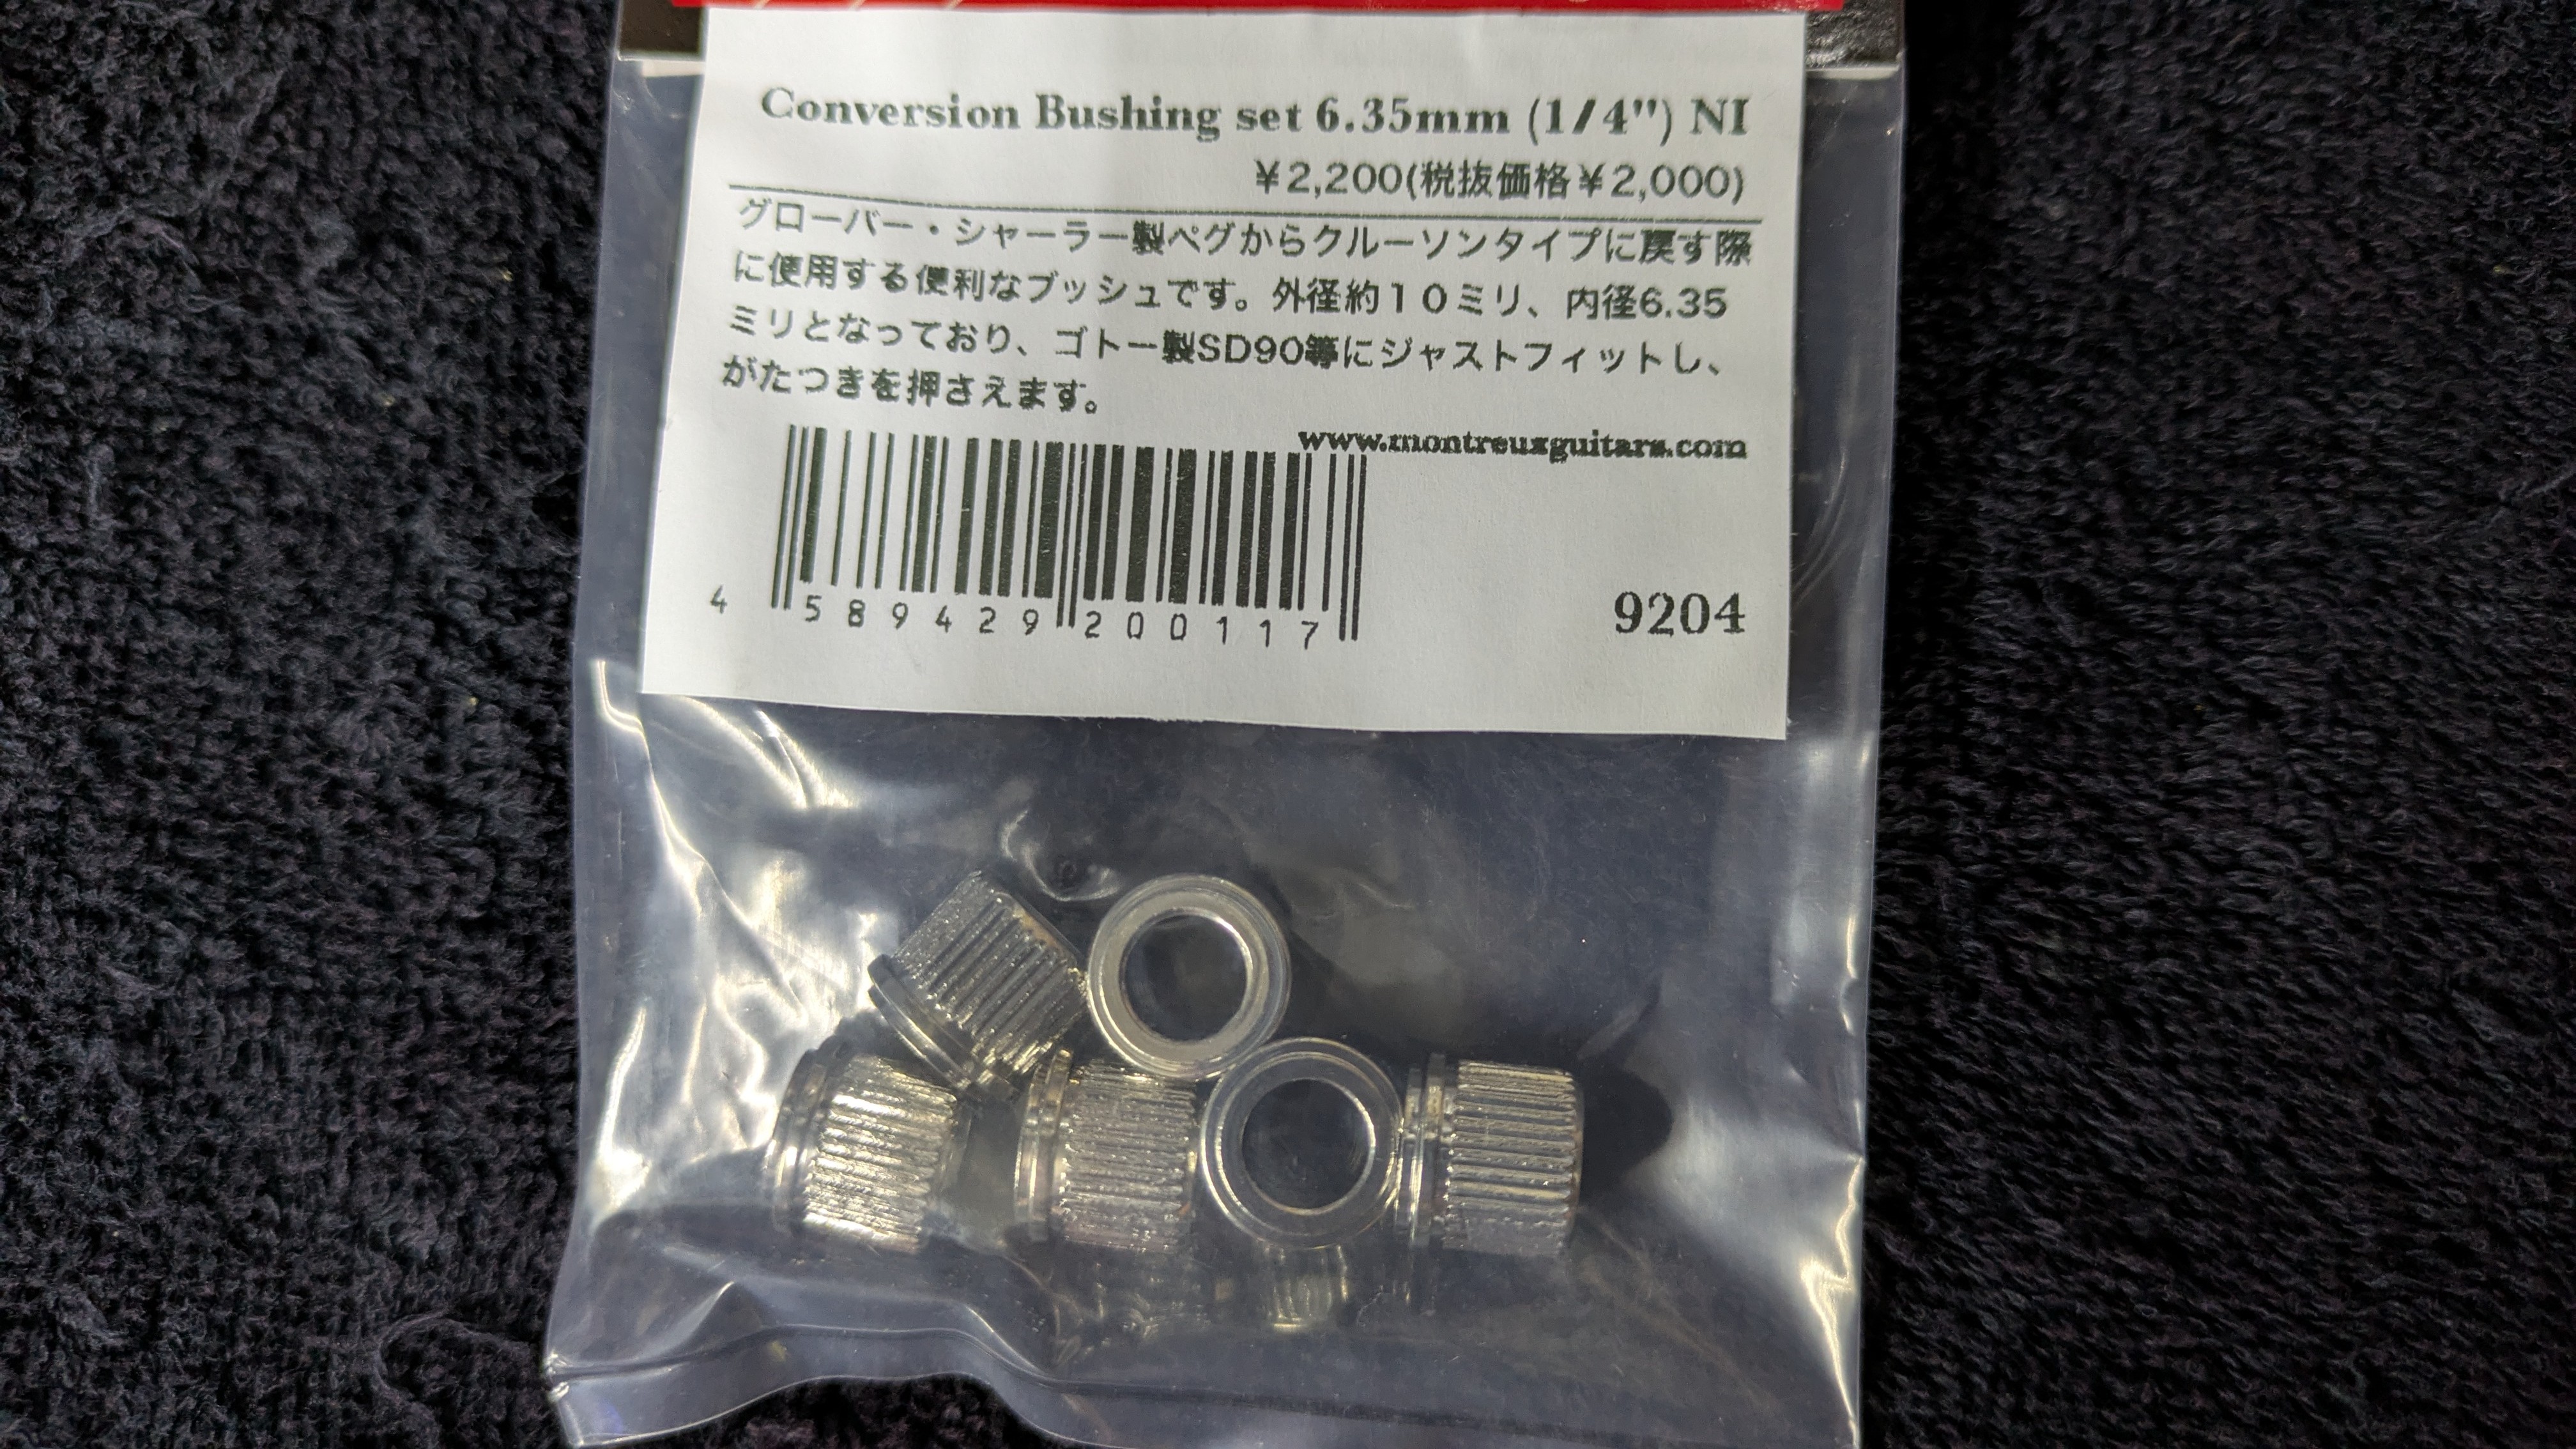
There is also a product called a conversion bushing that enables replacing tuners with these differing specifications.
However, using such conversion bushings often results in gaps around the tuner body (they don’t line up neatly).
While the appearance isn’t ideal, the replacement is possible without any particular issues.
* Conversion bushings are used when replacing a nut-secured (Schaller type) peg with a Kluson type (bushing specification) peg.
Without using these, the original hole must be filled and re-drilled.
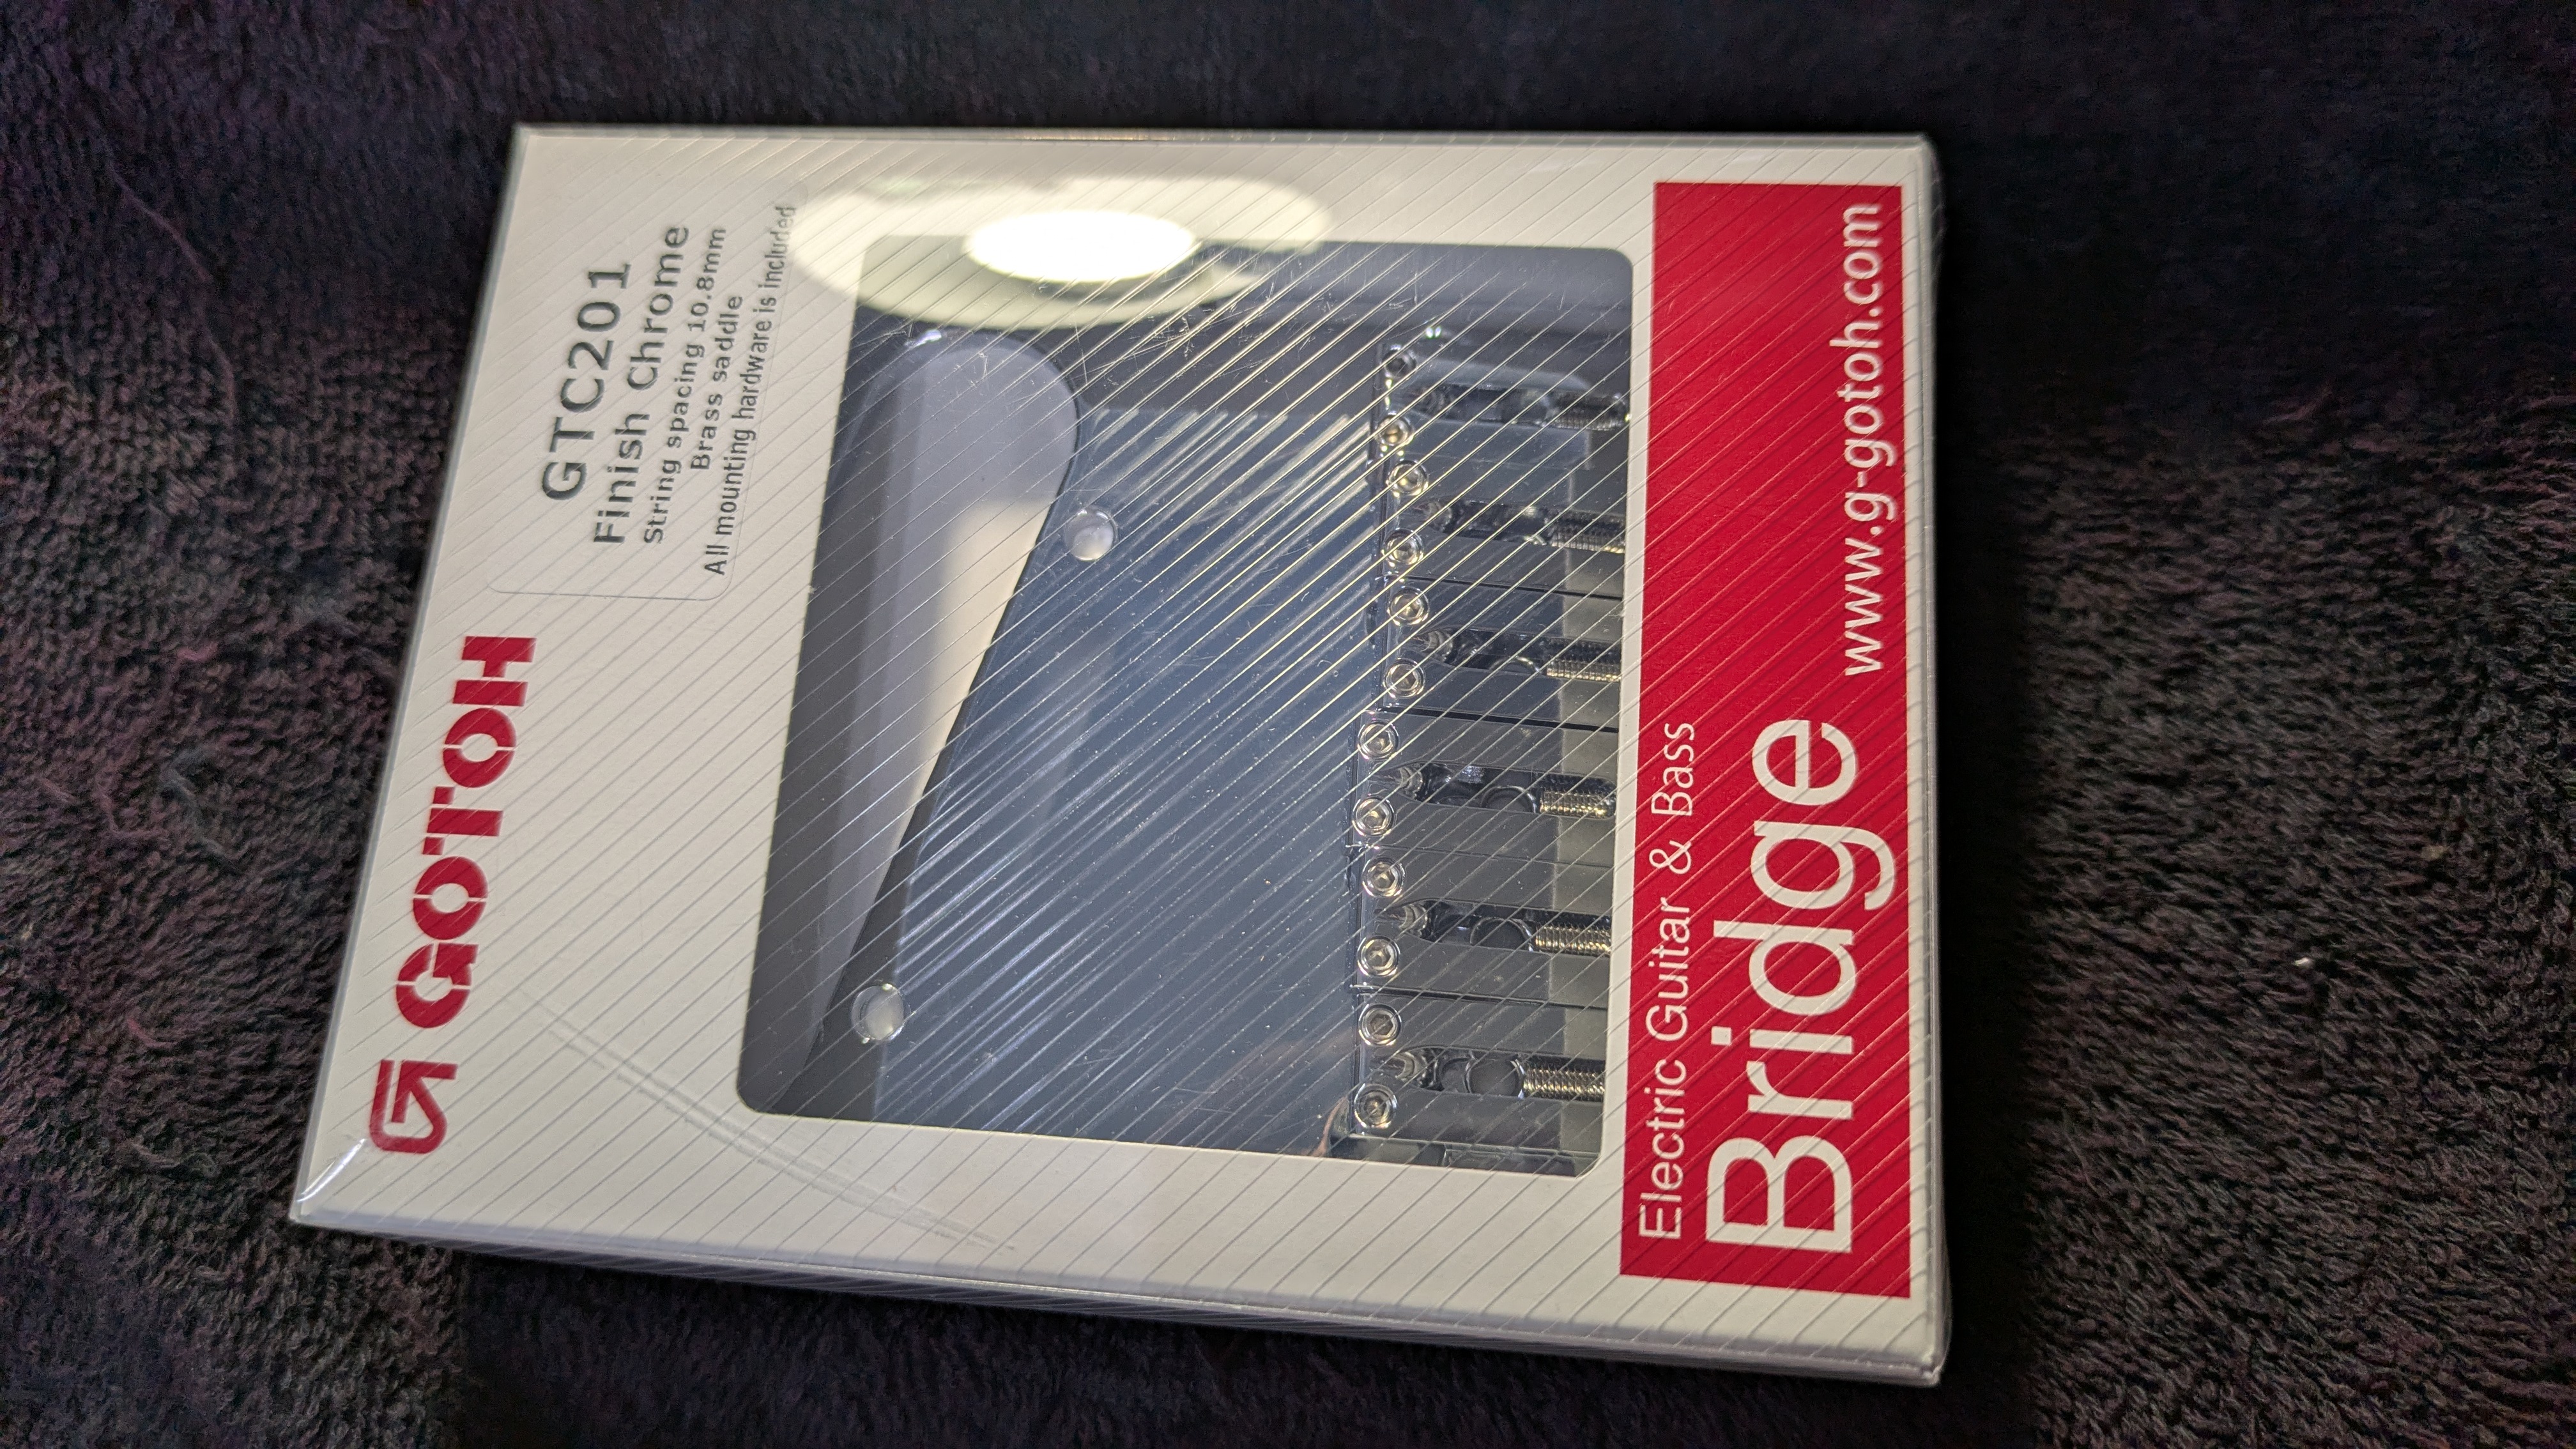
I also swapped out the bridge for a GOTOH unit. It went from a 6-saddle to a 3-saddle bridge.
With a 3-saddle bridge, the octave adjustment position shifts, so it doesn’t achieve the same precision as a 6-saddle bridge. However, GOTOH’s saddles are designed with the string contact point optimized, resulting in a better octave adjustment position compared to 3-saddle bridges like those on Fender models.
The sound has become crisp and clean, delivering that classic Telecaster tone.
Being a chambered model, it has less muffled sound and produces a clear, crisp tone that sounds great.
In fact, it feels lighter and easier to handle, which I think really highlights the benefits of the chambering.
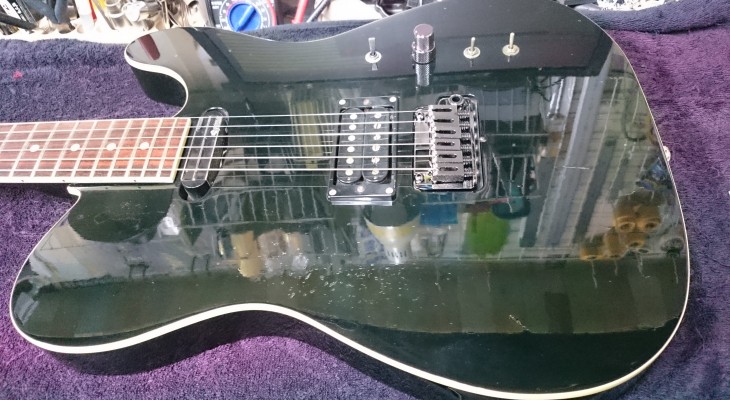
This is a PU replacement, bridge replacement, and setup for a Tokai Telecaster.
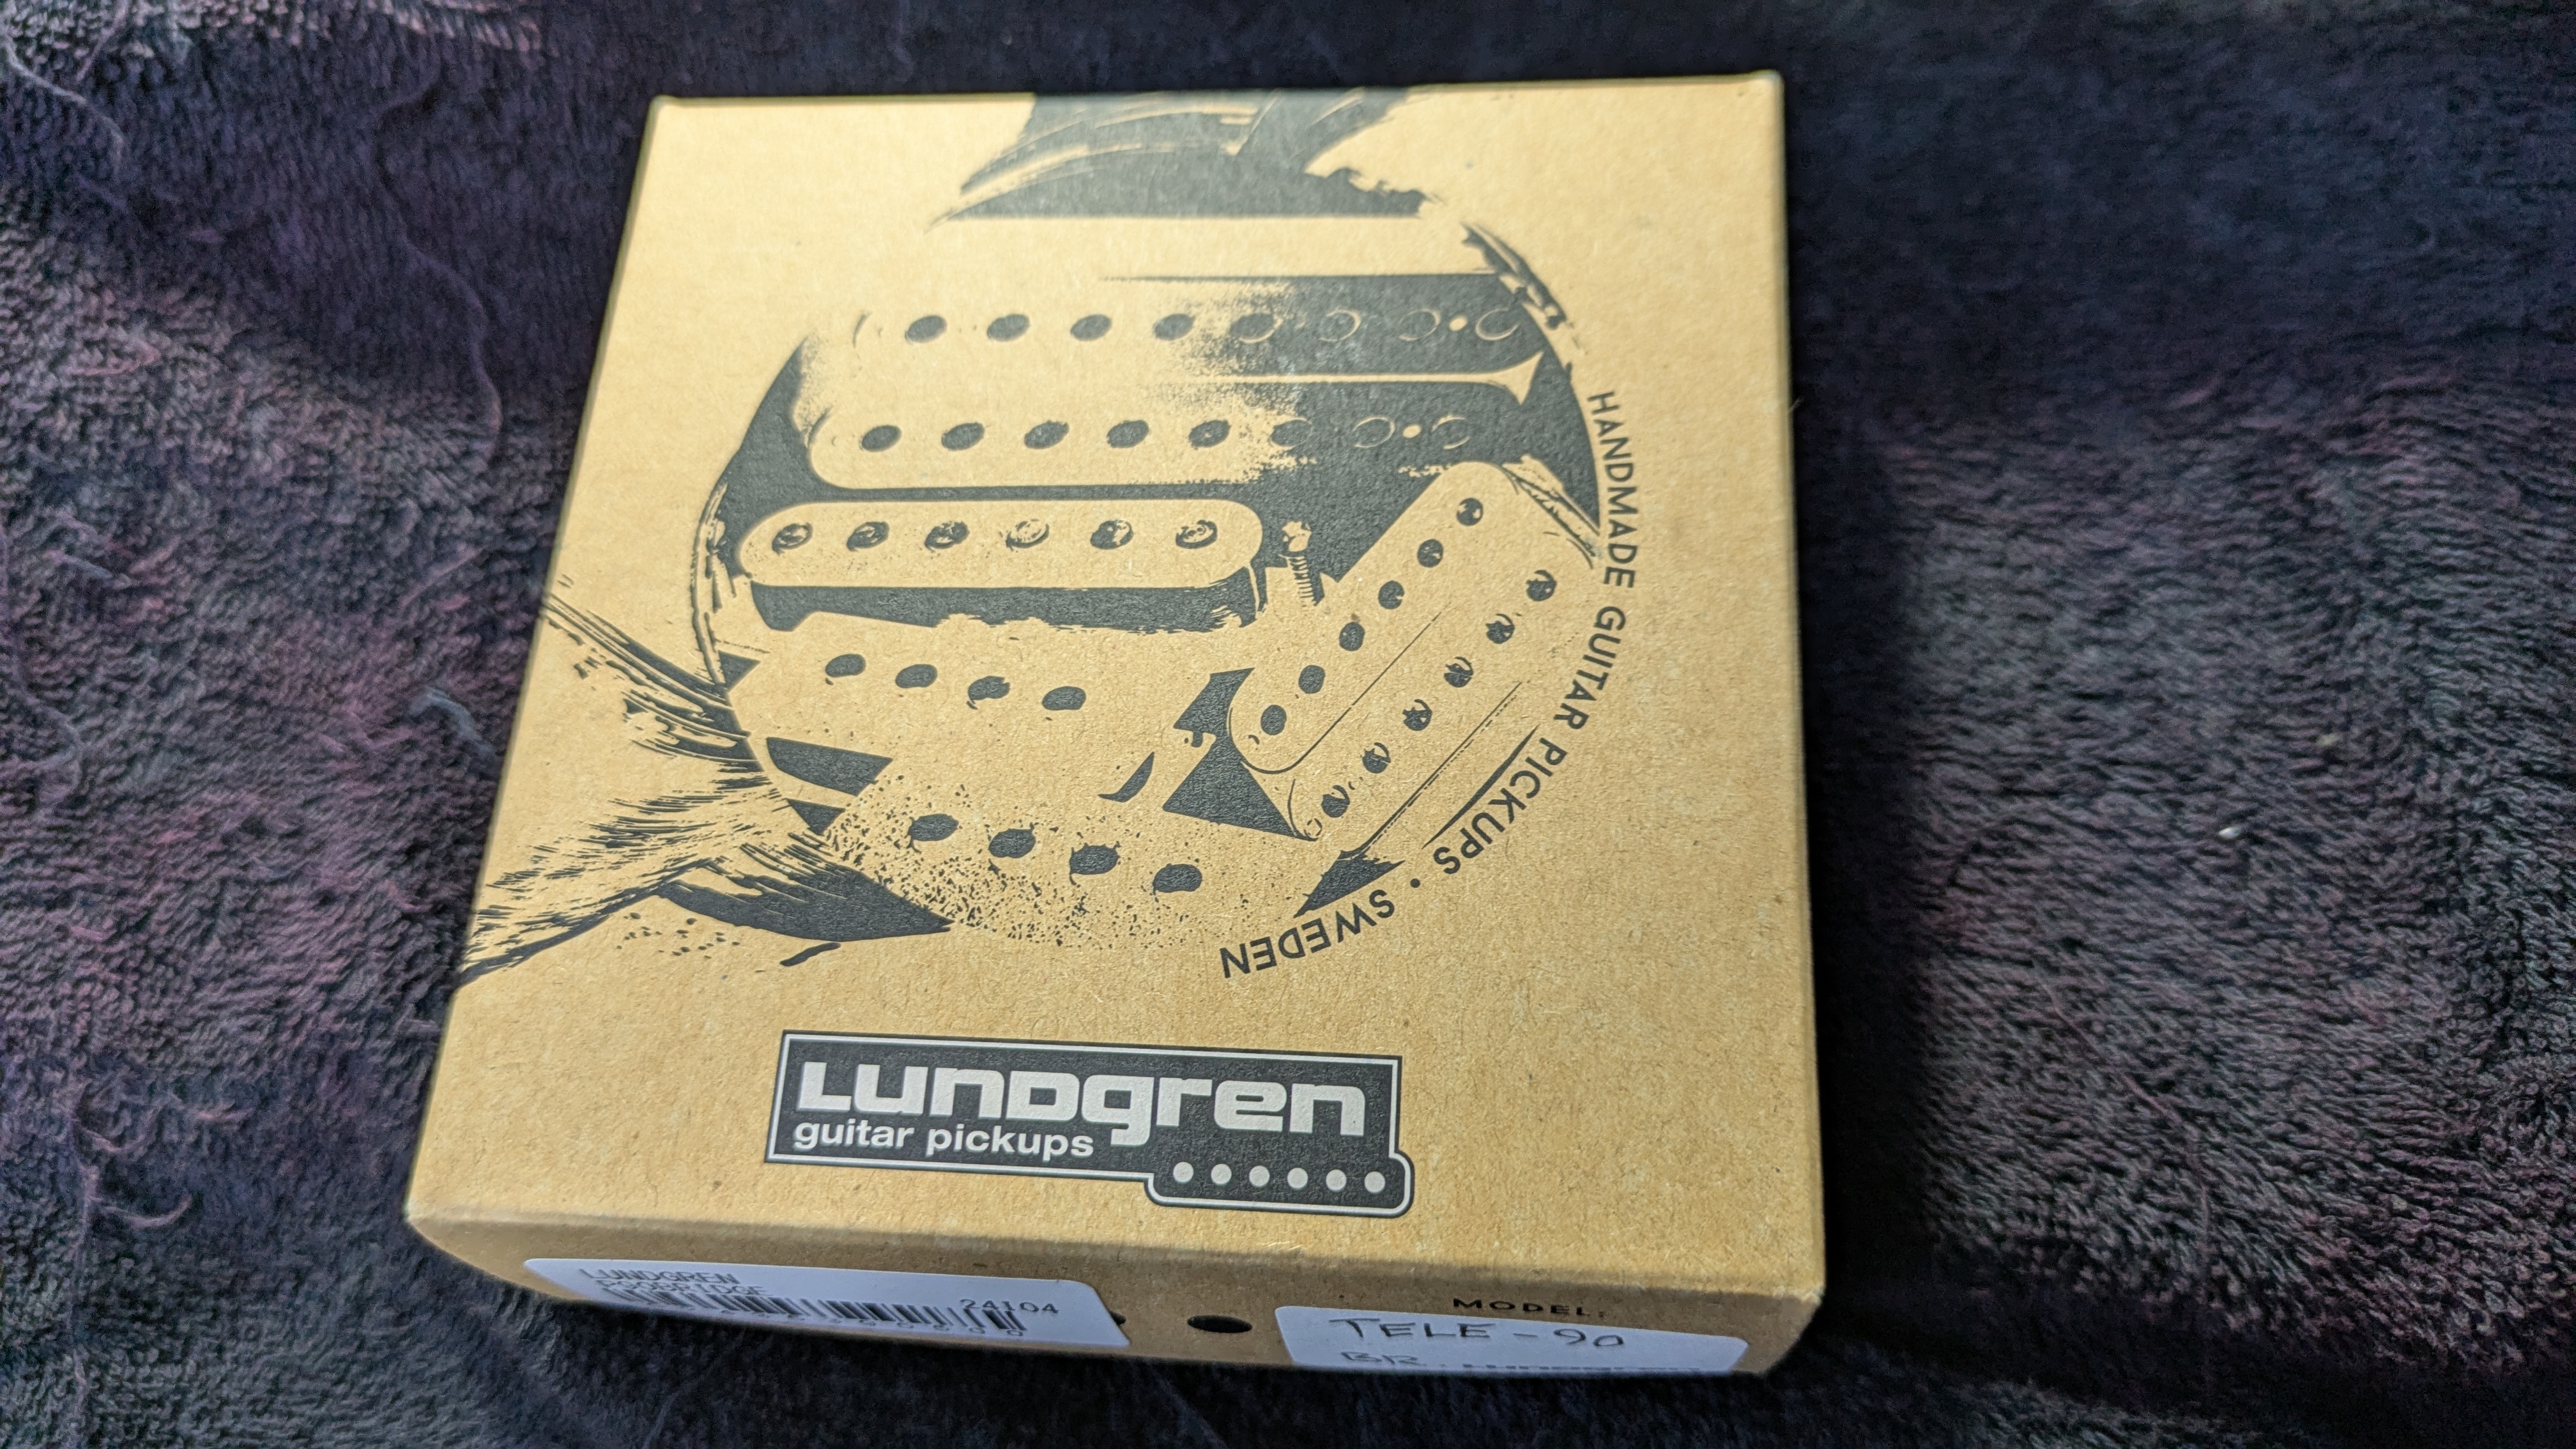
We replaced it with a Langren P-90.
We also replaced the bridge.
This allows for proper adjustment of the octave, which cannot be done with the standard 3-saddle bridge, and eliminates the Telecaster’s weakness of poor intonation.
It can be replaced without modification in the standard bridge position.
Langren pickups are a rare brand, but the rear sound becomes thicker, making it an excellent pickup for the rear.
Many people find the rear pickup mounted on the bridge to be too bright and thin in tone, making it difficult to handle.
It resembles a quarter-pound pickup, which is thicker than a P-90, and transforms the Telecaster’s rear sound into a delicious tone, making the rear pickup usable on its own.
Reviews of the Langren PU are also available on YouTube.
The “bridge” is the part that greatly affects the sound, sustain, and even playability of an electric bass.
By replacing the bridge, you can enjoy a variety of benefits, from dramatic improvements in sound quality and tuning stability to a customized appearance.
However, replacing the bridge is more than simply unscrewing and replacing the screws.
Proceeding easily without knowledge can, in the worst case, result in damage to the body of the bass or render it unplayable.
In this article, for those who are considering replacing the bridge on an electric bass, we will explain in thorough detail the very important precautions to avoid mistakes, so that even a beginner can understand them. It is a long article, but please read it through to the end to ensure a bridge replacement you will not regret.
~Why is bridge replacement necessary? Advantages and disadvantages
Before embarking on bridge replacement, let’s first understand its purpose and the advantages and disadvantages associated with it.
Advantages of Bridge Replacement
Sound changes: Depending on the bridge material (brass, steel, aluminum, etc.), mass, and structure, the length of sustain, attack, clarity of sound, and tightness of bass notes can vary greatly. For example, a bridge with more mass tends to have a longer sustain, brass tends to have a warmer, richer sound, and steel tends to have a tighter, clearer sound.
Improved tuning stability: A high-precision bridge transmits string vibrations accurately to the body, thereby reducing tuning deviations and making it easier to maintain a stable pitch.
Improved intonation (pitch): A bridge with a precisely adjustable saddle minimizes pitch deviations at each fret, allowing the player to play at a more accurate pitch.
Greater string height and string-to-string pitch adjustment: Many replacement bridges offer finer string height adjustment and individual string-to-string pitch adjustment than the factory bridge. This allows for a more comfortable playing experience.
Customize the look: There are many different colors and designs of bridges, such as chrome, black, gold, etc., that can significantly change the overall look of the bass.
Through-body stringing: Some bridges support through-body stringing, where the strings are threaded through the back of the body. This changes the tension of the strings and may affect the sustain and sound.
◆Disadvantages of replacing the bridge and points to note
Cost: In addition to the price of the bridge itself, you will also have to pay for tools and strings if necessary. If you ask a professional to replace the bridge, you will also have to pay for the labor.
This is one of the most important points to note. As described below, if the position or size of the mounting holes do not match, wood processing (drilling or filling holes) may be required, making it difficult to restore the original. The processing cost may also be high depending on the bridge.
If the bridge is not installed correctly, the sound may deteriorate, tuning may become unstable, and in the worst case, the bridge may lift or the body may crack.
The sound quality may not be to your liking: The new sound may not always match your preferences. In particular, some people feel that the sustain is too extended or the attack is too strong. The bridge is a part that has a strong influence on the sound, so success and failure can go both ways.
Impact on resale value: Replacements that involve extensive wood work can affect the resale value of the bass.
~ Very important checkpoints before bridge replacement: 90% of failures are determined here! ~The most important thing to do when replacing a bridge is to make sure that it is in good condition.
The most important part of bridge replacement is careful preparation and confirmation before replacement. Mistakes made at this stage can lead to a situation from which there is no turning back.
1. check the current bridge type and installation method
First, check the type of bridge currently installed on your bass and how it is secured.
Top-loaded (through the front): The most common type where the strings are passed through the top of the bridge.
Through-body: The strings are passed through the back of the body. The bridge itself may have the same structure as a top-loaded bridge, but there are holes in the body through which the strings are threaded.
Dual-load: Some bridges are compatible with both top-loaded and through-body bridges.
Then, check how the bridge is fixed to the body.
Screws: This is the most common type. Check how many screws are used.
Stud bolt fixation: The bridge rests on a stud driven into the body.
Anchor Nut Fixing: Screws and studs are tightened to anchor nuts embedded in the body. 2.
2. thoroughly check the compatibility of the bridge you want to replace with the current bridge
This is the most, most important point.
Compatibility does not simply mean whether or not they look similar. The following points must be checked to the millimeter.
If you want to use the existing screw holes: Make sure that the screw hole spacing on the bridge you want to replace is exactly the same as the screw hole spacing on the current bridge. Depending on the make and model, the pitch may be slightly different even for the same Fender type. Use a caliper or similar tool to precisely measure.
If even 1 mm is off, the screws will not fit. If you try to force the screws in, you may damage the wood of the body or break the screws.
Options if the holes do not fit
A. Drilling: Drill a new hole in the body to fit the new bridge.
B. Fill-in: Fill in the existing holes and re-drill new holes.
C. Find a compatible bridge.
A and B involve machining the wood of the base body. If you are not confident about this, we strongly recommend that you have a professional do the work.
String Spacing: This is not directly related to the bridge installation, but it greatly affects the playability. String spacing is the distance from the center of each string to the center of the other strings.
If the string pitch of your current bass is significantly different from the string pitch of the bridge you wish to replace, the playing feel may change, or the position of the pickup polepiece and strings may shift, affecting the sound. Also, since the width of the fingerboard does not change, but only the string width, if the pitch is wider than the original string pitch, the strings will be closer to the end of the fingerboard and there is a possibility that the strings will fall off.
Generally, the standard pitch between strings on a 4-string bass is 19mm, but depending on the brand and model, it may be 18mm or 17mm. Be sure to check before replacing strings.
If your current bridge is top-loaded, even if you replace it with a through-body bridge, it will not work with a through-body if there are no holes in the body for the strings to pass through. (In that case, you can still use it as a top-load bridge.)
If you wish to use a through-body, drilling into the body is required. This is a very difficult process and should be done by a specialist.
When changing from front-through to back-through strings, it may be necessary to use strings with a longer string scale.
This is when the position where the string becomes thinner cannot go over the nut due to the back-threading, the thicker part of the string will not ride on the nut and the open strings will sound choked.
If this occurs with long scale strings, extra long scale strings must be used.
Bridge height and saddle range of motion: If the minimum string height of the bridge after replacement is higher than the current string height, it will not be possible to set the desired string height.
On the other hand, if you replace the bridge with one that is extremely lower than the current bridge, the string height will be too low even when the saddle is raised to its highest position.
The adjustment range of the saddle is also important. Make sure that the new bridge has enough saddle movement range to accurately match the current intonation. Especially on the bass string side, the higher the fret, the more severe the octave adjustment becomes, so a sufficient range of motion is necessary.
Overall size of the bridge: Depending on where the bridge is located on the body, a bridge that is too large may protrude from the body, while a bridge that is too small may reveal the mounting holes. It is also important to check the aesthetics. 3.
3. prepare the necessary tools
The following tools are required for the replacement work.
Phillips head screwdriver / flat head screwdriver: It is advisable to prepare several screwdrivers according to the shape of the screws on the bridge. If you use an incorrect size screwdriver, you may lick the head of the screw and be unable to remove it.
Allen key: Used for the bridge saddle height adjustment screws, the string height adjustment screws depending on the model, and the bridge body fixing screws. Most bridges come with an Allen key, but check to make sure you have the right size if necessary.
Nippers/wire stoppers: Used to cut strings.
String winder: Useful for winding strings.
Tuners: For tuning and octave adjustment after replacement.
Calipers or ruler: essential to accurately measure screw hole spacing, string pitch, etc.
Precision screwdriver set: Sometimes used for small screws for octave adjustment.
Curing tape / masking tape: It is a good idea to put this around the bridge to protect the body.
New strings: After replacing the bridge, it is generally a good idea to replace the strings with new ones.
(Electric drill, wood drill blade, wood putty, sandpaper, and paint (if necessary): These will be needed when woodworking is required. 4.
4. Secure and prepare your workspace
Work on a stable, flat surface. Ideally, the space should be large enough to allow you to work with the base lying down.
Lay out a blanket or thick cloth to prevent damage to the body of the base.
Ensure adequate lighting and an environment conducive to detailed work.
Detailed procedures for replacing the bridge and precautions at each step
Once the preparations are complete, it is time to begin the replacement work. Pay close attention to each step. 1.
1. Loosen and remove the strings.
Lower the tuning and completely remove the tension from the strings.
Cut each string with nippers. Cutting on both the head side and the bridge side will make later work easier.
Pull the strings out of the bridge. If the instrument is back-threaded, pull the strings out through the back of the body as well. 2.
2. remove the current bridge
Carefully remove the screws holding the bridge in place with a compatible screwdriver.
Turn the screw slowly, making sure that the screwdriver is the correct size and that you are not applying too much force, so as not to lick the head of the screw.
Once all the screws are removed, lift the bridge from the body.
Note: Screws are small and should be stored so that they are not lost. It is a good idea not to mix the screws with those of the bridge after replacement, in case they are later put back in the original bridge. 3.
3. clean and check the body side
Dust and dirt often accumulate where the old bridge used to be. Wipe them off with a clean cloth.
At this time, make sure there are no scratches on the body paint and no abnormalities in the wood.
4. temporarily place the new bridge and check the screw holes (most important!)
Gently place the new bridge where the old one was.
This is the most difficult part. Check with your eyes and, if necessary, recheck with calipers to make sure that the screw holes in the new bridge are perfectly aligned with the old screw holes still in the body.
Pattern A: If the screw holes match perfectly
Lucky! Proceed to the next process as is.
Pattern B: If the screw holes are slightly misaligned (less than 1mm gap)
Never screw in screws forcibly. It will lead to damage to the wood and breakage of the screw.
In this case, the existing holes must be slightly widened or filled in and new holes re-drilled.
Slightly widening the existing hole: In some cases, this can be accomplished by carefully shaving the edges of the hole with the tip of a precision screwdriver or similar tool. However, this method is limited to only a “slight” shift.
Fill & re-drill: The existing hole must be filled with wood putty or toothpick and wood glue, allowed to dry completely, and then re-drilled to match the new bridge location. This is a sophisticated process and can have a significant impact on the paint, so if you are not confident about this, we strongly recommend that you contact a professional repair store.
Check the scale line: Even if the original screw holes can be used for the replacement, do not be relieved.
There is a “fixed position of the bridge” called the scale line on the instrument.
If the scale line is not correct, the position of the saddle will be incorrect for octave adjustment (too close to the neck, too close to the end, etc.), which will cause adjustment inconvenience. In the worst case, the octave adjustment will not be possible and the instrument will be unusable.
The range of octave adjustment depends on the bridge, so in some cases, the original screw holes cannot be used, and it may be necessary to measure the position of the scale line from the neck.
Pattern C: When screw holes are very different
As with Pattern B, it is necessary to fill & re-drill the holes. This is a very risky operation, and we strongly recommend that you contact a professional. Alternatively, give up installing that bridge and consider looking for another bridge.
Even if the screw holes match, before tightening the screws just to be sure, it is a good idea to check that the screws of the new bridge fit smoothly into the original screw holes by turning them by hand. After confirming that the screws will go in without difficulty, use an electric drill or screwdriver to tighten the screws. 5.
5. Installing the new bridge
After confirming that the screw holes are perfectly aligned, carefully place the new bridge on the body.
Slowly tighten the fixing screws one by one.
Note: Do not tighten the screws too tightly from the beginning, but tighten all the screws temporarily to make sure the bridge is in the correct position.
Then, tighten the screws evenly in a diagonal line, little by little. Tightening only one part first may distort the bridge or put a load on the wood.
Be careful not to over-tighten! It may cause damage to the wood or lick the screw heads. If you feel the screw stop, do not over-tighten it any further. It is sufficient if the screws are firmly fastened with moderate torque. 6.
6. String new strings
Put new strings through the string holes in the bridge (or back-through holes) and wind them around the pegs.
We will explain how to wind the string in detail at another time, but wrapping the string tightly around the peg will improve the stability of the tuning. 7.
7. String Height Adjustment
When you have finished stringing, first adjust the tuning.
Next, adjust the string height of each string. Turn the hex screws on the bridge saddle with the supplied hex wrench to raise or lower the string height.
Adjust the string height to your liking. Generally, the bass string side should be slightly higher and the treble string side slightly lower.
Note: String height is also affected by neck warp and nut height. After replacing the bridge, it may be necessary to adjust the warp of the neck.
Check the bridge string height: Every bass bridge has an element called “bridge string height” on the bass bridge itself.
The string height cannot be raised or lowered infinitely, and there is always a limit. If the string height exceeds this range, it may cause inconvenience such as “the string height is too low and cannot be raised” or “the string height is too high and cannot be lowered any further”.
Be sure to check the “bridge string height” of the bridge to be replaced from the manufacturer’s website, and measure the “bridge string height” of the original bridge to make sure that this value does not change significantly. If there is a discrepancy of 3mm or more, it may cause inconvenience.
8. octave (intonation) adjustment
This is the most important adjustment after bridge replacement. Octave adjustment means adjusting the open strings so that the harmonics (or real notes) of the open strings and the 12th fret are the same pitch. This ensures that the pitch is accurate no matter which fret is played.
Procedure: Use a tuner to accurately tune the open strings.
Play the harmonics at the 12th fret.
Next, play the actual note with the 12th fret held down.
Compare the pitch of the harmonics and the real note.
If the real note is higher than the harmonic: move the saddle toward the body end to increase the string length. Loosen the screws holding the bridge saddle in place, move the saddle backward, and retighten the screws.
If the actual note is lower than the harmonic: move the saddle toward the neck and shorten the string length.
Repeat for each string until the correct pitch is reached.
Note: Each time you move the saddle, the tension of the strings will change, so be sure to re-tune the strings each time before checking.
This process requires a great deal of patience. Adjust the strings little by little and check them over and over again.
New strings take time to adjust, so it is best to wait a while after putting them on before making adjustments. 9.
9. recheck the neck warp and pickup height
Changing the bridge may change the tension feeling of the strings, which may cause a subtle change in the warp of the neck. In conjunction with the string height adjustment, check the condition of the neck and, if necessary, adjust it with the truss rod.
The pickup height can be changed by changing the bridge, which will also change the distance between the strings and the pickups. Adjust the pickup height if necessary to obtain the proper volume balance and sound.
Maintenance and Troubleshooting after Bridge Replacement
This is not the end of the replacement process.
Periodic retightening: Bridge screws can loosen due to vibration or temperature changes. Check regularly (e.g., every few months) to make sure they are not loose and retighten them if necessary. Do not overtighten, however.
Wood drying and shrinkage: Wood expands and contracts with humidity and temperature. Watch carefully for loose screws or lifted bridges, especially when new holes are drilled or during seasonal changes.
Check the sound: Take the time to test the new sound to make sure it is to your liking and that it does not sound unnatural. If it does not sound right, reevaluate the string height and octave adjustment, and possibly consider returning to the original bridge.
If a problem occurs…
Screws do not turn/break: Do not try to turn the screws, try a special tool (such as a screwdriver) or consult a repair store.
Bridge is lifting: Check for loose screws and retighten. If it still floats, consult a professional for possible damage to the wood or distortion of the bridge.
Choppy sound/lack of sustain: There are many possible causes: string height is too low, neck is forward warped, nut groove is too shallow, or frets are floating. Try to eliminate the possibilities one by one, or have a repair store diagnose the problem.
Summary: The key to a failure-free bridge replacement is “thorough confirmation and preparation.”
Replacing the bridge on an electric bass is certainly a DIY project. However, how carefully you conduct “preparation and confirmation” can mean the difference between success and failure. In particular, the compatibility between the new bridge and the base itself, especially the pitch of the screw holes, is the most important item that should be checked to the millimeter before replacement.
If you feel even a little uneasy, we recommend that you consult a reliable music store or repair store instead of doing the work yourself. If you ask a professional, he or she will ensure that the work is done reliably and, if necessary, the woodwork will be beautifully finished.
We hope this blog post will help you get a better sound and playability from your bass. Please take the challenge of customizing your beloved instrument with care and enjoyment!
~ Summary~.
The bass bridge is a fairly difficult element to replace.
The “scale line” and “bridge string height” are very important factors. If you make a mistake, you will waste the cost of the parts, and if you modify it, you will have to do extra work and lower the value of the instrument.
It is a difficult job that an amateur would be lucky to be able to replace with information on the Internet, so basically, ask a repair store to do the work for you.